Wednesday, April 10, 2013

Wedding photos!

My Brother-in-law got married last week and I got to be his photographer. It was so fun! I am not 100% sure if weddings are my thing but it was fun to take pictures of this cute couple and our growing family! 


Check out my photography website here to see all the photos I took!

Friday, March 8, 2013

Bridal Shower Invites

Check out this Bidal shower invite my Brother helped me create!
Check out his website here!


Thursday, March 7, 2013

Growth Chart

I have been wanting to make one of these for a while now. 


We are a military family and we will be moving around for the rest of our lives. 
I really wanted to have a door or something to mark the growth of my kids but I know that we wont have a home like that so this was my solution. I can track my kids growth in every place we live. 


This is what I used:
Wood: I used a 1x6 that is 6ft tall. I got mine from Home Depot it was already finished. 
Numbers cut on Cricut.
Square
Tape measure
Sharpie
Hammer and something to hang it on the wall.


First I used my tape measure to make marks ever inch all the way up my board.


Once I have marks ever inch then I used my square and sharpie to make marks like this.
My mark lengths were in this order.
1 inch
1 inch
1 1/4 inch
1 inch
1 inch
1 1/2 inch
1 inch 
1 inch 
1 1/4 inch 
1 inch
1 inch
2 inches
I hope the make sense so at the half foot mark my line was an inch and a half long and at the foot line my mark was 2 inches long. 


Then I put my Cricut number next to the 2 inch lines.
With my numbers I did not start at 0 I started at 6 inches. So number 1 is only 6 inches from the bottom. When I hang it on the wall I want the bottom to be six inches from the floor.


I measured six inches from the floor and made a mark on my wall with a pencil. 
Then I put my metal piece to hang it up on the back and used the tooth paste technique to know where to put the nail in the wall to hang my board. 


Once it is hanging you can measure your kiddos!


Cool right! I think so :)

Wednesday, February 6, 2013

Easy Baby Blankets

These are some fun easy blankets!
They are so basic that if you don't know a lot about sewing (like me) this will be a good project. You could also use this to teach younger crafters!
I used: 
Two pieces of flannel. (I just got enough material to make them square)
Sewing machine.
First put your pieces for material front to front. Make sure they are the same size. Then sew around the edge stay close to the edge. Leave a section open to turn your blanket right side out. 

Once you have turned it right side out iron the blanket around the edges to that it will be easy to sew again. Sew around the edges and close the section that you left open. 

 You could be done if you wanted I sewed around one more time for looks. :)


You can find some fun flannel and make some super cute combinations!
You could also make them smaller for baby blankets for your little ones babies. Your Kid and her baby could have matching blankets!


Tuesday, November 6, 2012

Quick Blanket

This week BJ has had a hard time taking naps. When I put her in her crib she thought that it would be super if she took several catnaps. That made life fun for about two seconds. So I had her lie next to me on the couch cuddled in a fleece blanket we have there. She slept for two hours. It was wonderful. The next day, the same ordeal for her morning nap. This time I was quick to think, it doesn't me more than once to learn (I wish), I took BJ to her bed with our soft fleece blanket from downstairs. She slept around the two hour mark again. So the thought came to me "maybe she likes the fleece." You may say Duh!. We'll today while BJ was taking a nap with the blanket we had I drove to the fabric store, for the sixth time this month, (a story for later) to pick up some fleece to make BJ her very own blanket.
 I found some very soft fleece and a cute color stripe damask flannel.
This was a super simple, super quick blanket. I took the flannel and laid it on the fleece and folded the fleece over twice and sewed it to the flannel. That's pretty much it. I did tack it down in the middle a few times with a few stitches.
 20 minutes before bed time we had a blanket for this little one to use.
 Here's a sneak peek of what I've been working on.

Sunday, October 14, 2012

DIY Halloween Costume

The Incredibles!!
We had an early Halloween party to go to so I got our costumes done last week.
Here is what I did:
I found Mom and Dads sweat pants and long sleeved T at Wal-mart for $6 each.
Dash's T and pants also Wal-mart for about $4 each.
Jack-Jack onesie at DI $2.

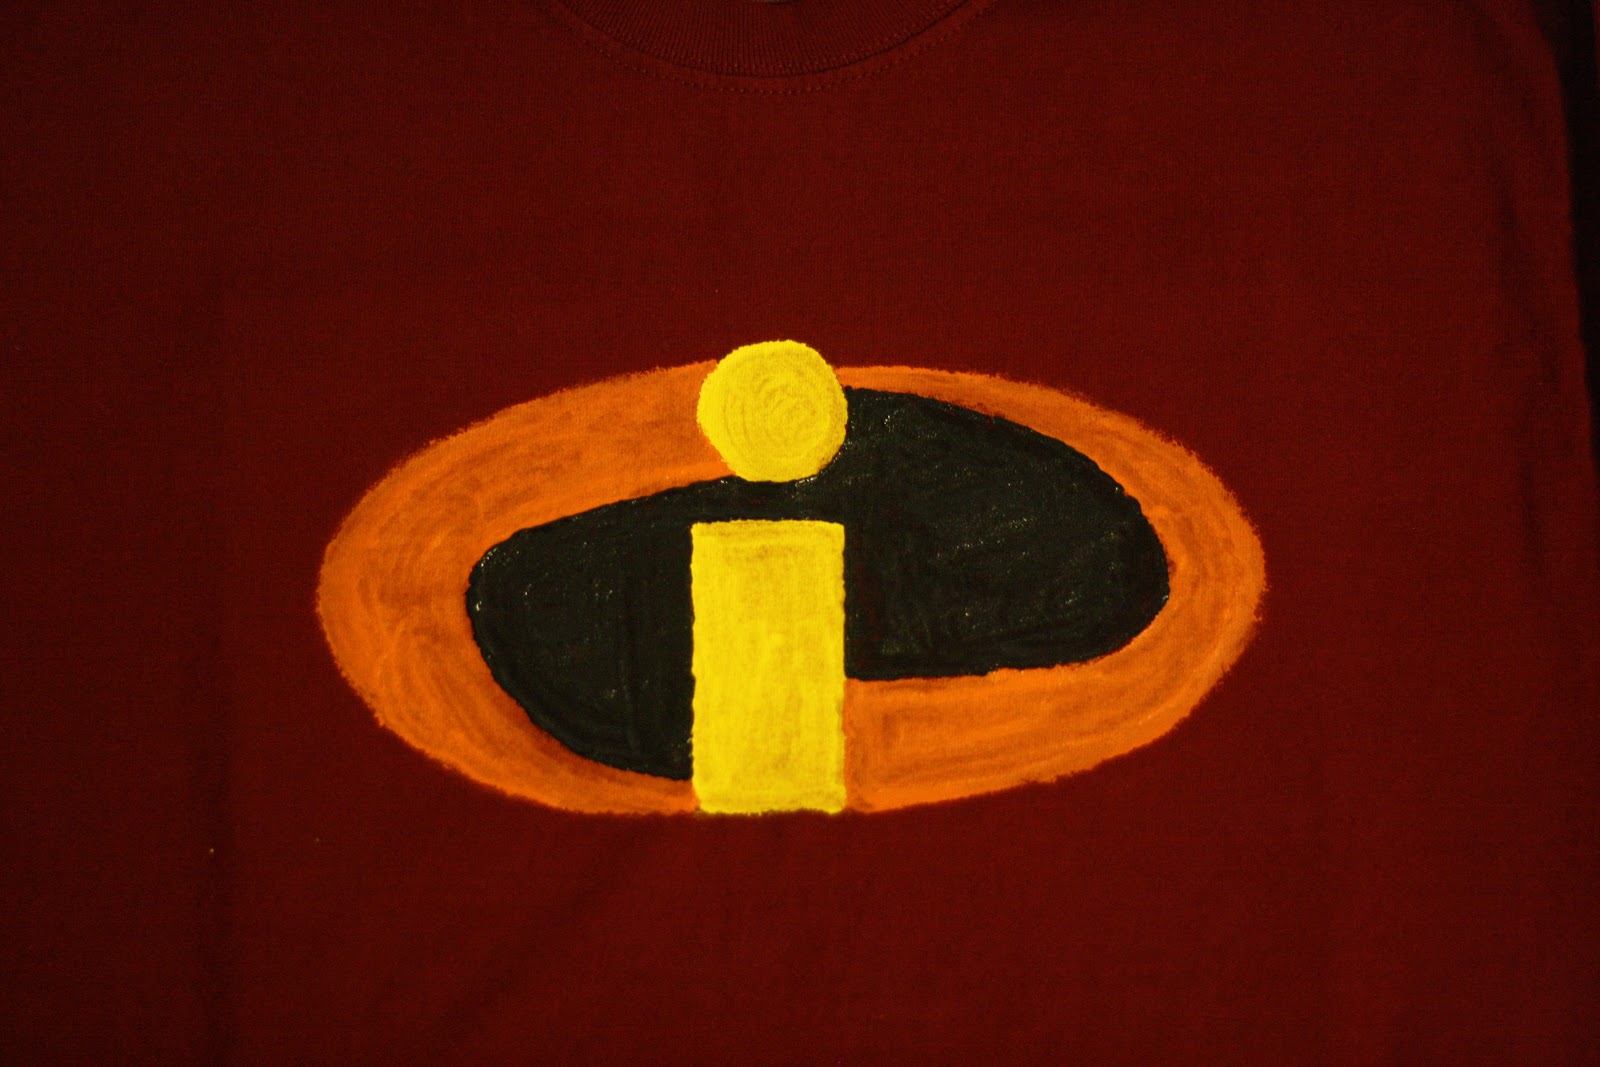
I painted the logo on our t shirts with crafts paint like this:


For the Gloves I used regular knit gloves from Wal-mart and cut the feet off a pair of socks to make them longer. 
For the boots I pulled the same type of socks I used for the gloves over our shoes. For Dash I folded them back over to make them a good size for her. 


For the masks I used this tutorial.
If you are better with a sewing machine than I am, here is a tutorial from someone who sewed instead of painted on the logo. She also has a tutorial for sewing the black bottoms.   


Wednesday, October 10, 2012

Heartfelt Wall Hangings

Over the weekend my mom and I visited our new favorite craft store! Heartfelt Wall Hangings is a cute little vinyl and craft shop in West Jordan Ut. Each month Heidi offers a free craft  related to the fallowing month. This month it is a Thanksgiving craft. She offers classes each day where you can come to her shop and work on your free craft and any other crafts you purchase. She offers all her paints, sander, glitter spray and help to make your vinyl craft.
This is her free craft for October. Is simple yet so cute to get your home ready for Thanksgiving!

While we were there we found these cute blocks too!


Each month the "O" changes to fit the season or holiday. I will be going back in November to make one with a ornament and snowflake for December and January. Here is an example of each month. 
 

We will be going back for more free crafts and all the other cute ideas they have at Heartfelt!