Showing posts with label fashion. Show all posts

Friday, May 18, 2012

Mothers Day 2012

Each year for Mother's and Father's Day Makenna makes a shirt for our mom and dad. This year we decided to have all three grandkids pitch in for the shirt. The shirt usually has a hand or foot print on it with a cute little saying. While living with Grandma and Grandpa A would tell Bramma and Papa "Good Night, I love your guts" so that's what we put on our shirts.
This year to make it easy on us we used a tutorial for painting the shirts with freezer paper from this website one little minute. In case you don't want to head on over there I'll tell you how I did it here.

What you'll need:
Print out of cute font
Freezer paper (wax paper is not the same thing)
x-acto knife
t-shirt
iron
pen
paint
foam brush


Print out the saying, it doesn't have to be any special paper just printer paper will do. I chose a cute font that I liked called "A Song for Jennifer" and made it large enough for it to be seen on the shirt.
Measure your freezer paper for the shirt. I folded the paper so that the words would be lined up correctly on the shirt.


Trace the font onto the freezer paper. Line it up so that all the words line up and aren't slanted at all.
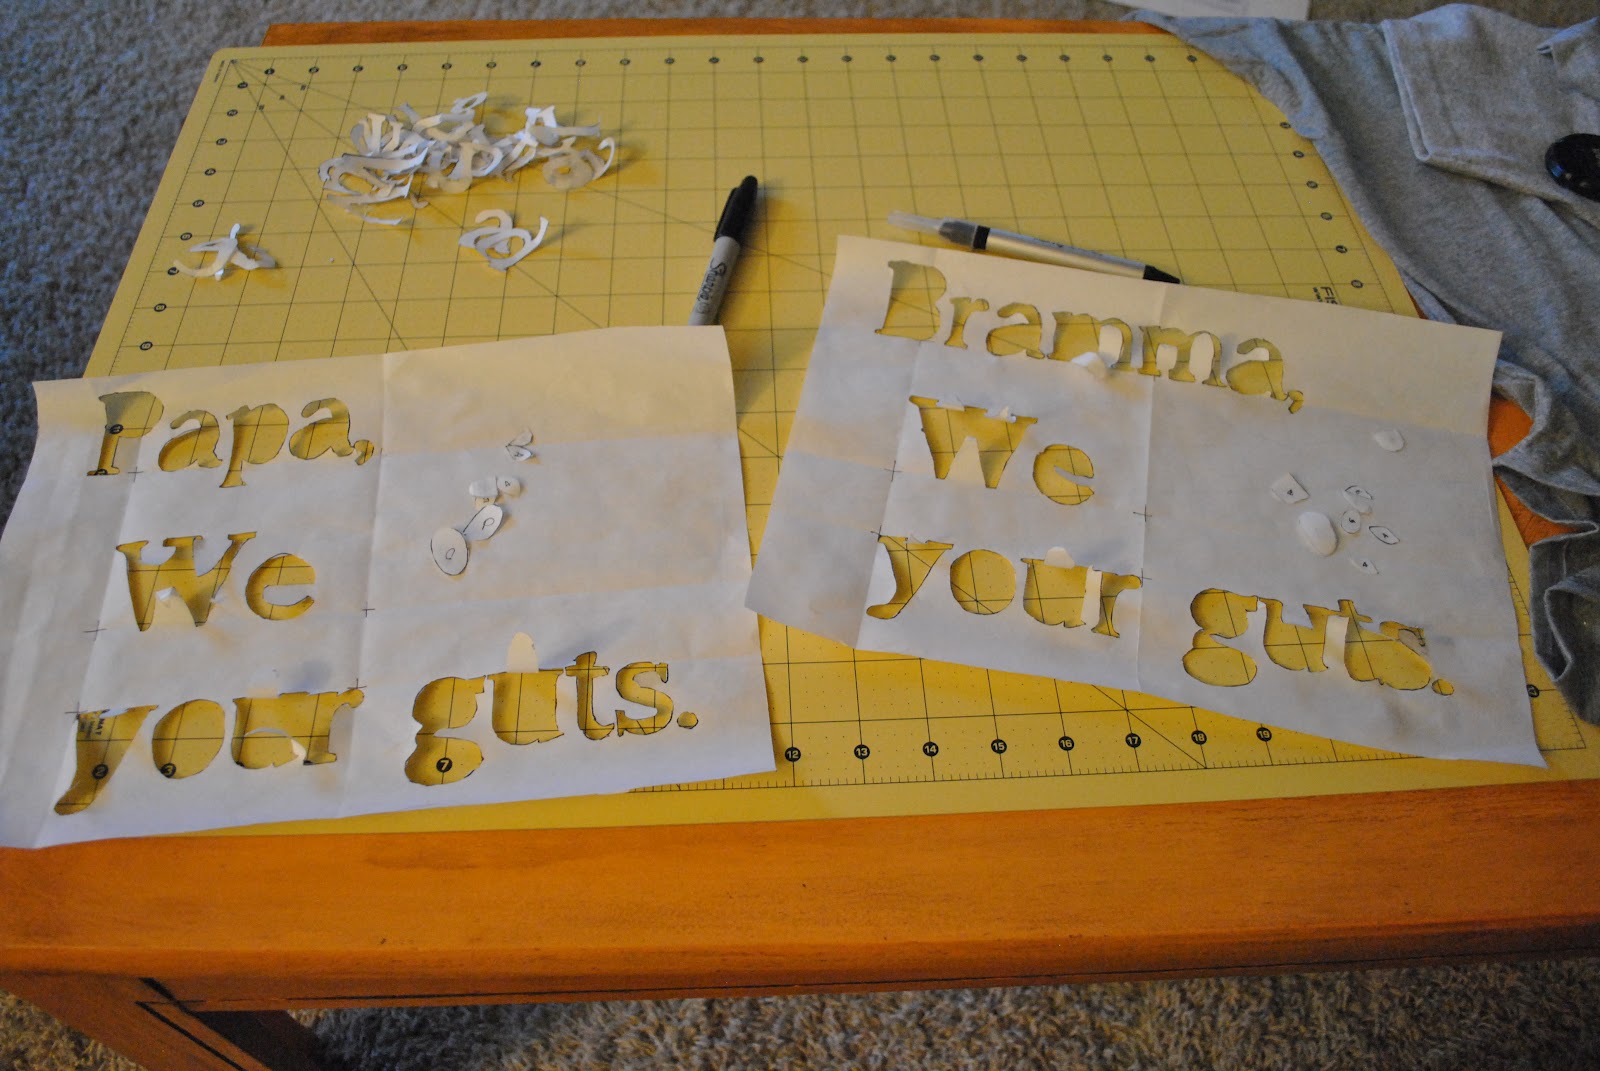
Now, use your x-acto knife to cut out the letters from the freezer paper. The x-acto knife makes it easy to cut the little spaces. Remember to keep the inside of letters such as the A, E, G and O. Tip: I used my cutting mat for this so that I didn't cut into anything I would regret later.

This is the easy part, iron. Place the freezer paper on the T and line it up where you would like the words to be. It sticks really quickly and super easy to remove when the paint has dried.
Now paint it! We used Tulip Puff paint for the saying and brushed it around with the foam brush. Make sure that all of the freezer paper is ironed securely or the paint may get under the paper.
Let the paint dry for at least an hour or until it is not sticky any longer. Pull the paper off the shirt, and there you have it.
We started with the hand prints with little J in Nebraska, then sent the shirt to Utah to finish it up with A and R's handprint. The little ones were difficult to get because didn't necessarily like to open up their fists. The paint we used for the prints was just normal craft paint.
A beautiful Mother's Day gift from the grandkids.
Past years shirts can be found at these links. Makenna is such a creative gal. Just one of the many reasons we love her.

Thursday, December 8, 2011

Belly Band

Since being pregnant I have been hearing about this Belly Band and wanted to try it out. I was going to wait and make some with my sister when I visited Utah. Unfortunately, in the last few days my belly has grown quite a bit and my pants started to get a little tight.
For those who don't know a Belly Band is made from stretchy material that looks like an undershirt but you wear it over your pants and keep your button undone for those who need a little extra space.

I used extra material that I had at my house.
Materials:
about 1/2 yard of knit or stretchy fabric (waist size previous to pregnancy by 20")
Sewing machine with stretch setting or zigzag stitch
Stretch needle or ball point needle.

I did not have a piece of material wide enough, so I had two 13" pieces plus 1/2 for seam allowance. Sew both long side together good sides facing each other so you have a long tube. Unless you have a long enough piece of material to fit your waist. Then you would sew the 20" sides together.

 Then Iron the seams to make a good finished product in the end.

Sew one short side together still inside out. Then go to the other short end and put it through to make a tube still inside out to keep seams consistent. If you have one long piece skip this step.
The sew around the short end of the tube, but not all the way around so that you can turn it right side out. All you need now after turning it right side out is to finish sewing the rest by hand to close the rest of the seam.

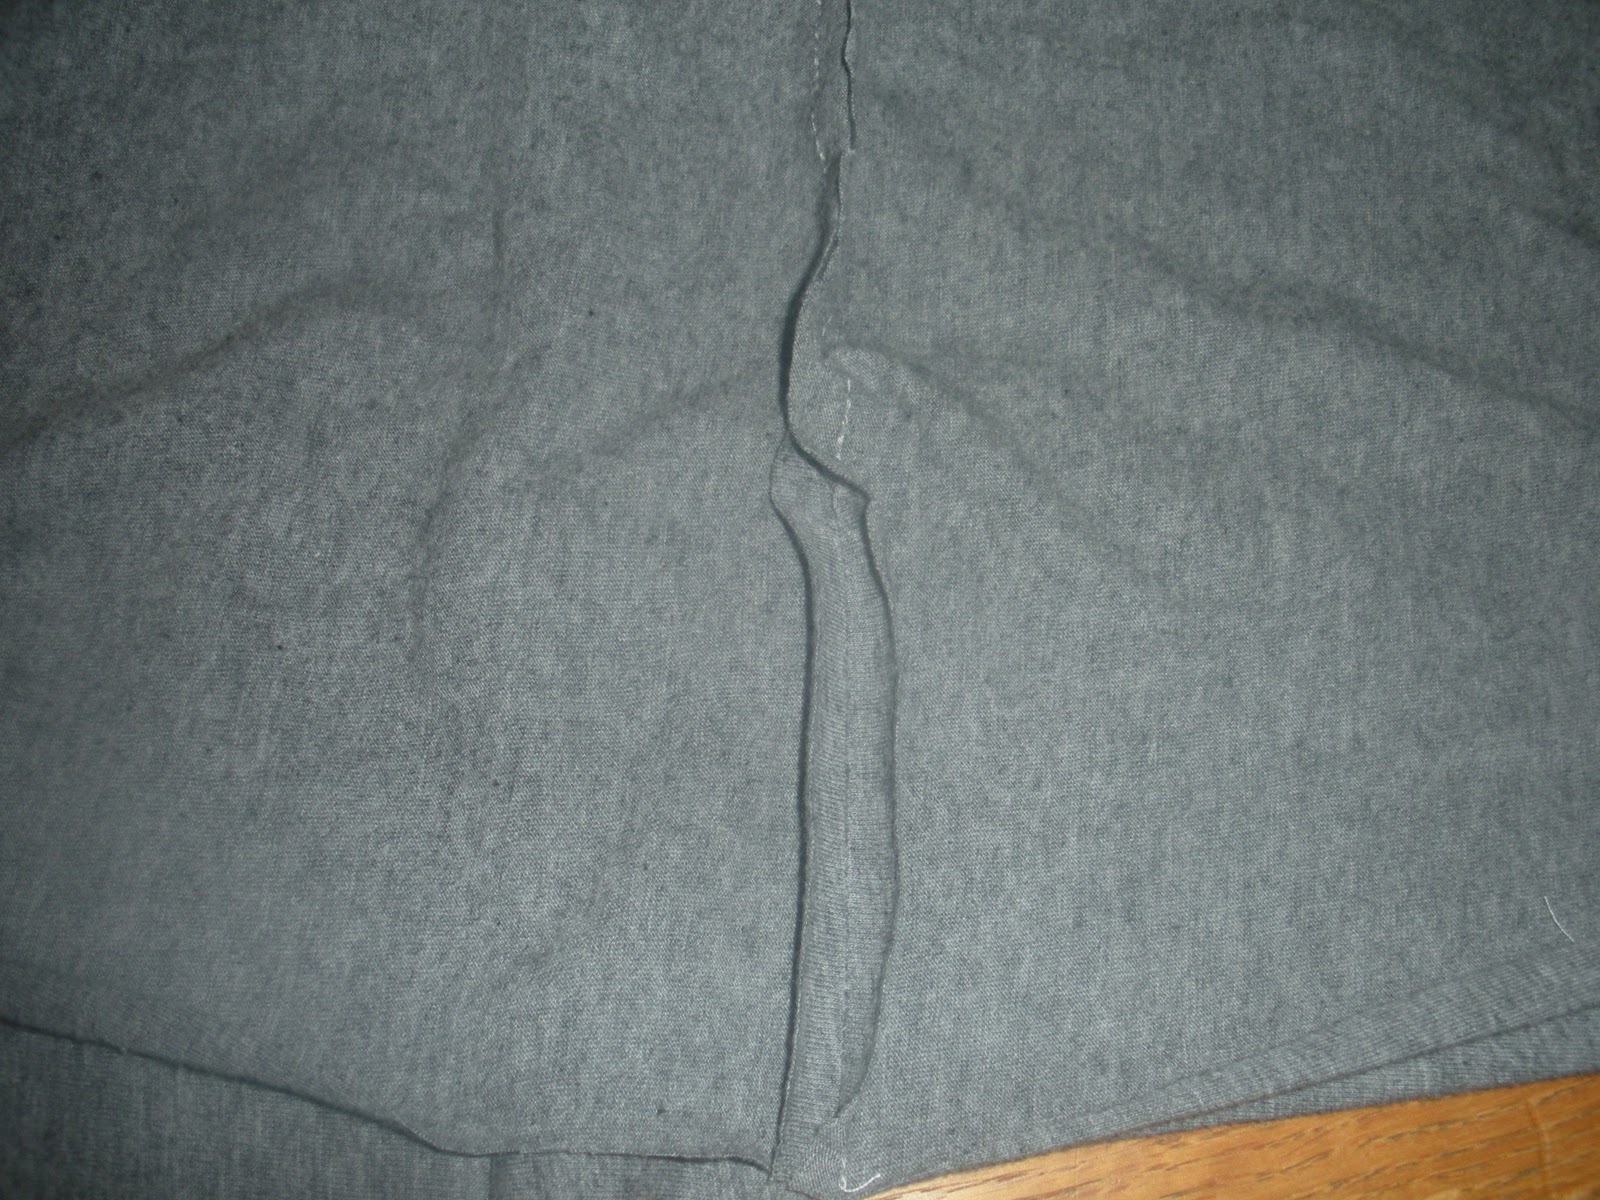
Lie it flat and iron it out to make it look beautiful. Flip it around so that the seam is on the inside of the band and put it on.
Check how mine turned out. It looks like a normal undershirt and I can now wear my pants!


Tuesday, May 10, 2011

Mothers Day 2011

This is what decided to make for Mothers Day 2011! Athena, Clay and I made them for grandparents we hope they love them!
 What I did: 
I got my shirts at Wal-mart for $5.
I printed the letters onto paper using Courier font. Then I had some black puff paint and copied the letters from the paper and smoothed out the paint using a q-tip. Red pastel paint for the hand prints. 
I made the same for grandmas and grandpa!
Happy Mothers Day!!


Wednesday, May 4, 2011

Mothers Day Idea

This Mothers Day gift has a little bit of a back story. Every Christmas growing up we would make my grandparents sweatshirts. These sweatshirts where one of a kind, they would say things like "We've got to hand it to you Grandma you are the BEST" then my mom would have a put our hand prints on them. Every year our Mom would come up with a creative new saying to put on these sweatshirts. I wish I had a picture of one because they were amazing! 
Well now that my Mom is a grandma I thought I would do the same for her, so last year for Mothers Day Athena, Clay and I made these babies!

On the front they say " My granddaughter LOVES me..." and they have a cute hand print of my 5 month old daughter. Then on the back they say "to the MOON and back" and that is a bum print of my little girl. I actually put paint on her 5 month old bum and put it on their shirts. They loved them! I did pink for Grandma and blue for Grandpa and gave the grandpa's theirs for fathers day.
What I did:
 I got my shirts for $5 at Wal-mart,
I used a fabric marker to write the words,
I cut the letters LOVES out of fabric and using the iron on stuff I ironed the letters on,
I used pink and blue paint to do the hand and bum print.

Stay tuned for this years gift! 

Friday, April 8, 2011

Fabric Flower

This is a first in what will hopefully be a series :) I am going to girls camp!! I am so excited! I will be doing camp crafts so I am trying out some of the ideas we have to see how long they will take and how much they will cost. I got this fun idea from A Little Tipsy. She has some super cute ideas!
This is what I used:
Glue Gun
Fabric
Scissors 
and a Button

Cut your fabric into circles

Fold each circle in half and then in half again

Glue them to one of the your circles (I used a different piece of fabric)

Glue your four circles onto your main circle

Glue your button on top

On the back I added a strip of fabric to slide a clip under so the clip can be reused.


Friday, March 25, 2011

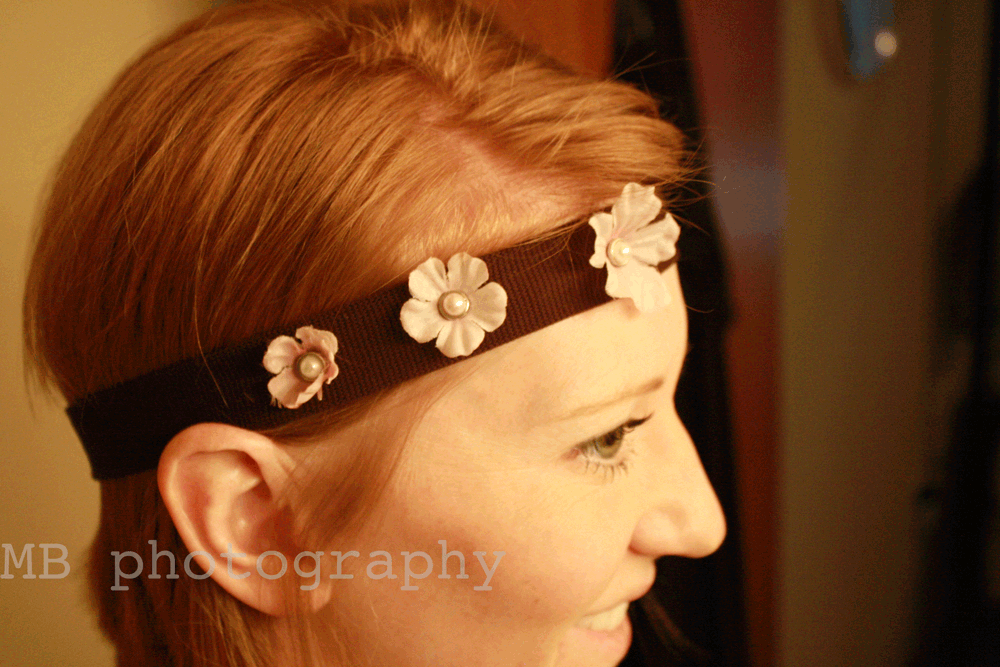
fun easy headband

This headband is super easy and fun, and I had most of the stuff so depending on your craft stash it could be free. 

You will need a headband any kind you prefer, flowers (I used some that were different sizes), gemstone brads and hot glue.
all you do is...
1. Separate your flowers so you only have one layer.
2. Put the gemstone brad through the hole in the flower.
3. Hot glue it to your headband. You can glue it anyway you want I did mine big to small.   


Its one of the only headbands my little girl wears!


Wednesday, March 23, 2011

New Shoes!!

My husband and I were in the store the other day and found these bad boys for three dollars!! 

When we got home with them I had to go back to the store to get a second pair. I came across this from Make it and Love it, and thought it was a great idea. She modge podged fabric to similar shoes. I loved the idea, it made them look designer. 


Because it was such a great idea I had to do it. I picked out some fabric that I thought would match the cloths that I wear, I also had to consider that the fabric should get noticed (so I could tell people that they are original).
I chose these patterns.


They turned out Great.

How To: 
1. Cut fabric just bigger than the shoe.
 2. Trim around the edges.
3. Cut a slit in the back of the fabric to the top of the shoe.
4. Apply Mod Podge to the toe of the shoe.
5. Put the fabric on the glue and stretch it so it lays flat on the shoe.
6. Continue all the way around the shoe, and pull the fabric tight as you smooth it down.
7. Trim the fabric along the sole and inside of the shoe, leaving about a 1/2 inch of fabric. Glue down the sides.
8. Cut the fabric on the sole of the shoe using a knife/razor blade.
 
Secret: Don't cover the whole thing in modge podge it makes it super stiff and uncomfortable. I recommend just using the glue under the fabric and around the sole of the shoe