Showing posts with label tutorial. Show all posts

Thursday, March 7, 2013

Growth Chart

I have been wanting to make one of these for a while now. 


We are a military family and we will be moving around for the rest of our lives. 
I really wanted to have a door or something to mark the growth of my kids but I know that we wont have a home like that so this was my solution. I can track my kids growth in every place we live. 


This is what I used:
Wood: I used a 1x6 that is 6ft tall. I got mine from Home Depot it was already finished. 
Numbers cut on Cricut.
Square
Tape measure
Sharpie
Hammer and something to hang it on the wall.


First I used my tape measure to make marks ever inch all the way up my board.


Once I have marks ever inch then I used my square and sharpie to make marks like this.
My mark lengths were in this order.
1 inch
1 inch
1 1/4 inch
1 inch
1 inch
1 1/2 inch
1 inch 
1 inch 
1 1/4 inch 
1 inch
1 inch
2 inches
I hope the make sense so at the half foot mark my line was an inch and a half long and at the foot line my mark was 2 inches long. 


Then I put my Cricut number next to the 2 inch lines.
With my numbers I did not start at 0 I started at 6 inches. So number 1 is only 6 inches from the bottom. When I hang it on the wall I want the bottom to be six inches from the floor.


I measured six inches from the floor and made a mark on my wall with a pencil. 
Then I put my metal piece to hang it up on the back and used the tooth paste technique to know where to put the nail in the wall to hang my board. 


Once it is hanging you can measure your kiddos!


Cool right! I think so :)

Tuesday, June 12, 2012

Mini Scriptures

I teach a primary class of young kids for my church. A few weeks ago we had a lesson about the prophet Joseph Smith translating the gold plates into the Book of Mormon. For a cute handout I found this miniature scripture idea for the kids to take home.
My philosophy is that I get ideas for other people and then figure out how to do it on my own so that it is somewhat my own. I'll tell you how I did it.
What you will need. 
tape
glue stick
card stock
"Hershey's Treasures" candy
ribbon
print out of your scripture.
Cut the card stock so that it fits both chocolate pieces and tape them down on the paper. I think it was about 2 1/2 X 1 1/2. I'm not positive though. (I made them a while ago).
Use the glue stick to glue the small piece of ribbon to the chocolates. It should stay pretty tight but if not it's ok because you'll put your scripture on top.
Print out your scripture in a very small font into two narrow columns. You may have to work around with the document to make it work. I chose the scripture Doctrine and Covenants 3:19. Because that is where we learn that the plates of old were meant for us to read and study now.
Stick the scripture on with the glue stick and you're done. 
Not including the time I spent fiddling with the word document, this project took about an hour. Next time I do this it will be for kids who are a bit older that will appreciate the thought instead of just devouring the candy as soon as they saw it.

JUSTINE

Thursday, March 15, 2012

Bunting for Baby

It's been a while since I have posted anything. I have a few projects that I have done and that I have in mind to create. I am way excited about this one. It going to go in our little baby room, it will be the first decoration we put in there. Bunting is getting pretty popular these days. People are using it to spruce up just about anything. There are a ton of different ways to do it, but this is how I did mine.

What you will need:
Sewing machine or needle and thread
At least 3 different patterns of fabric
Bias tape
cardstock 
ruler
scissors

Cut out a pattern for your triangles, I made mine from cardstock. Cut it out the size you want your bunting and add 1/2 inch for seam allowance. I measured mine 15 cm top, 21 cm down the center. Mark paper in the middle measure 7 1/2 cm from center to both sides and connect together 21 cm from top. Easy as that!
 Fold your fabric right sides together. Mark your pattern on the wrong side of the fabric.
I wanted to do three of each patterns that I chose for this project. Mark all three together to save time and fabric. Pin triangles in the middle before cutting.

Sew along the long edge leaving about 1/4 inch seam allowance. When you get to the point keep the needle down and turn material. Then sew up the other long edge leaving the top open. To save thread and time, there is no need to cut the thread between each one. just sew a couple of extra stitches and add the next triangle. Follow the same steps for all of them.
After all the long sides have been sewn, trim the tip of the point so that it's not bulky when you turn it. Cut thread that was left between the triangles. Turn all triangles right sides out. Use a pencil to make sure the tip comes to a point when turning all triangles.
 Now they are ready to be ironed. I used the cardstock from before to keep the seams tight when ironing. Just stick the cardstock in the "pocket" and iron out those wrinkles.
When they are all ironed put your bunting in the order you want it to be in. Keep them in the order so it's easier when you're sewing.
Add the bias tape to the top edge of the bunting. I didn't have any bias tape so I made my own from some fabric I had at home. Sew about 10 cm of bias tape together before adding the first triangle so you have enough to fold over to hang it up. Add each triangle between the bias tape and sew using a 1/4 inch seam allowance. Before adding each triangle make sure you space them apart. I used the edge of the metal piece (I don't know all sewing machine terms). I finished each triangle and added the next one at the edge of the metal piece and sewed along the bias until the triangle came up.
Once all of the Triangles have been sewn of the bias tape leave another 10 cm to the end. Fold back the bias tape and sew back and forth to secure it to the bunting, and you've got a perfect loop for hanging it up!

It has been so fun to make this. I hope you enjoy this tutorial. Please leave a comment if you don't understand any of the steps.

Thursday, December 8, 2011

Belly Band

Since being pregnant I have been hearing about this Belly Band and wanted to try it out. I was going to wait and make some with my sister when I visited Utah. Unfortunately, in the last few days my belly has grown quite a bit and my pants started to get a little tight.
For those who don't know a Belly Band is made from stretchy material that looks like an undershirt but you wear it over your pants and keep your button undone for those who need a little extra space.

I used extra material that I had at my house.
Materials:
about 1/2 yard of knit or stretchy fabric (waist size previous to pregnancy by 20")
Sewing machine with stretch setting or zigzag stitch
Stretch needle or ball point needle.

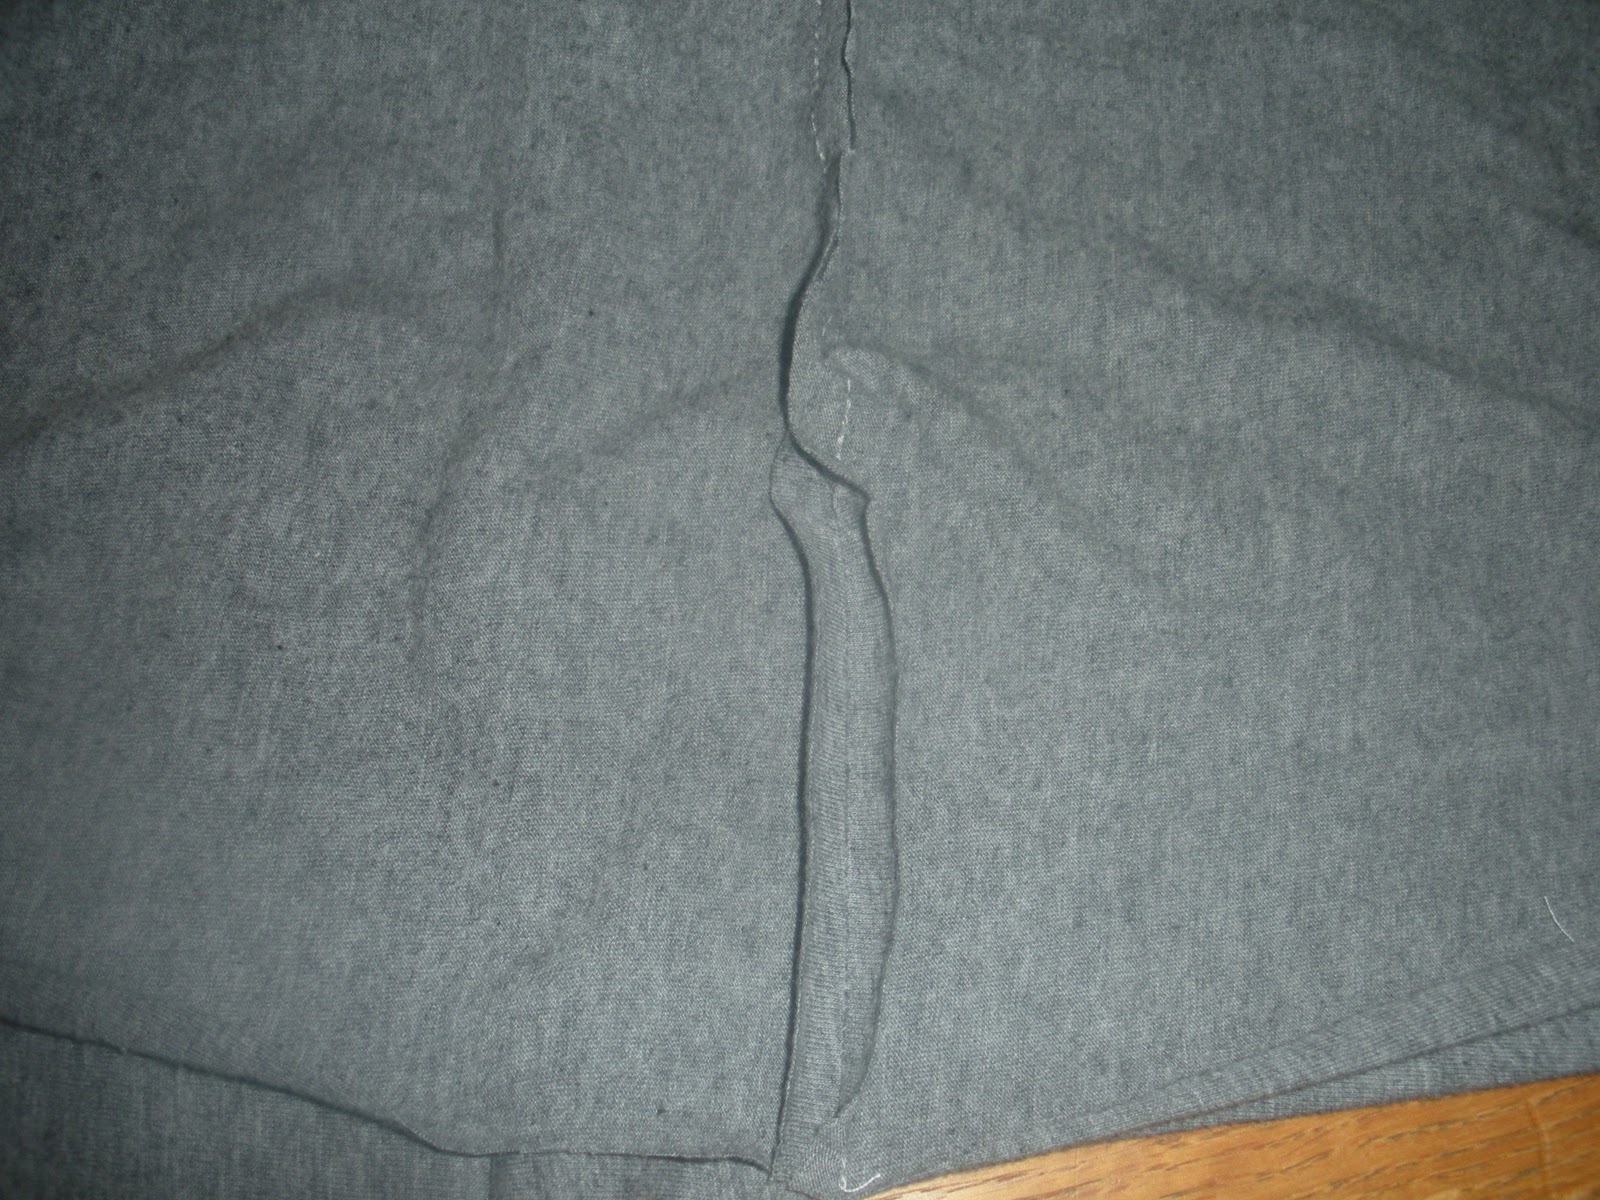
I did not have a piece of material wide enough, so I had two 13" pieces plus 1/2 for seam allowance. Sew both long side together good sides facing each other so you have a long tube. Unless you have a long enough piece of material to fit your waist. Then you would sew the 20" sides together.

 Then Iron the seams to make a good finished product in the end.

Sew one short side together still inside out. Then go to the other short end and put it through to make a tube still inside out to keep seams consistent. If you have one long piece skip this step.
The sew around the short end of the tube, but not all the way around so that you can turn it right side out. All you need now after turning it right side out is to finish sewing the rest by hand to close the rest of the seam.

Lie it flat and iron it out to make it look beautiful. Flip it around so that the seam is on the inside of the band and put it on.
Check how mine turned out. It looks like a normal undershirt and I can now wear my pants!


Saturday, November 12, 2011

Entertainment Stand

I have been wanting to get a new entertainment center for a while now. After pricing them out, I just couldn't do it. Last week a friend of mine and I went to a salvage yard and we found this beauty for $30.
I bought it knowing that I would paint it and maybe make a few minor adjustments. You cant beat that deal.

To get started on this project I sanded all the surfaces that I was going to paint so that the paint would adhere to the wood. We bought paint that had primer with it so that we wouldn't spend more money than we needed.
I white-washed just the surfaces that would be seen when the drawers were closed or could be easily spotted when they were open.

I did this inside because it was so cold outside. I had a space heater on and the door open to make it tolerable.
Antiquing it was fun and difficult. I had never done this antique technique and never on a project this big. The antique glaze was made combining four parts glaze and one part paint. I used a dark brown, almost black color. Paint the glaze in places that you would see normal wear and tear and wipe it off with a damp cotton rag.
Then we just added a polyurethane coat. I did this outside, oil based paints have crazy fumes. All we need now, besides awesome knobs, is the ENTERTAINMENT.

 The hubby likes this project a bunch. I enjoy it myself. Its also a plus that even with all of the supplies to paint it, it was not as pricey as some I've been looking at.

Wednesday, November 2, 2011

Costumes!

This year for Halloween my husband and I were Mary Poppins and Bert, the chimney sweep.
For his costume we needed a chimney sweep obviously. Luckily it was easy and FREE!
I started out with two cardboard boxes, and cut three circles out of them.

I taped up the folds so that I would be a bit more stable when I cut into them.

The next step was to cut around the edge to make it look like the bristles of the broom/sweep.
Then I punched a whole in the center with the broom handle that it will go on, so that the whole is about the same size.

The next step was to spray paint it. I happened to have black spray paint at my house. After the paint dries stick all three on a broom handle (that you have previously taken off the broom on.) and fray the edges that have been cut.
Super easy!!

My next project was the shirt for Mary Poppins. I found a Tuxedo shirt at the thrift store for $1.50!! It was a bit masculine so I thought I would work on  it a bit.
It started out looking something like this.
I was able to take in the sides of the shirt to fit and take off the large sleeves and ruffle the shoulders with the bulk of the fabric.
I also customized the detail on the front of the shirt.

I lowered the detail and added a bow as well as a fringed the collar. What you cannot see the bottom of the tuxedo detail is in the shape of a "V" for a more feminine look.

It turned out to be a success. (Not the photograph, the costumes and our Halloween).