Showing posts with label halloween. Show all posts

Sunday, October 14, 2012

DIY Halloween Costume

The Incredibles!!
We had an early Halloween party to go to so I got our costumes done last week.
Here is what I did:
I found Mom and Dads sweat pants and long sleeved T at Wal-mart for $6 each.
Dash's T and pants also Wal-mart for about $4 each.
Jack-Jack onesie at DI $2.

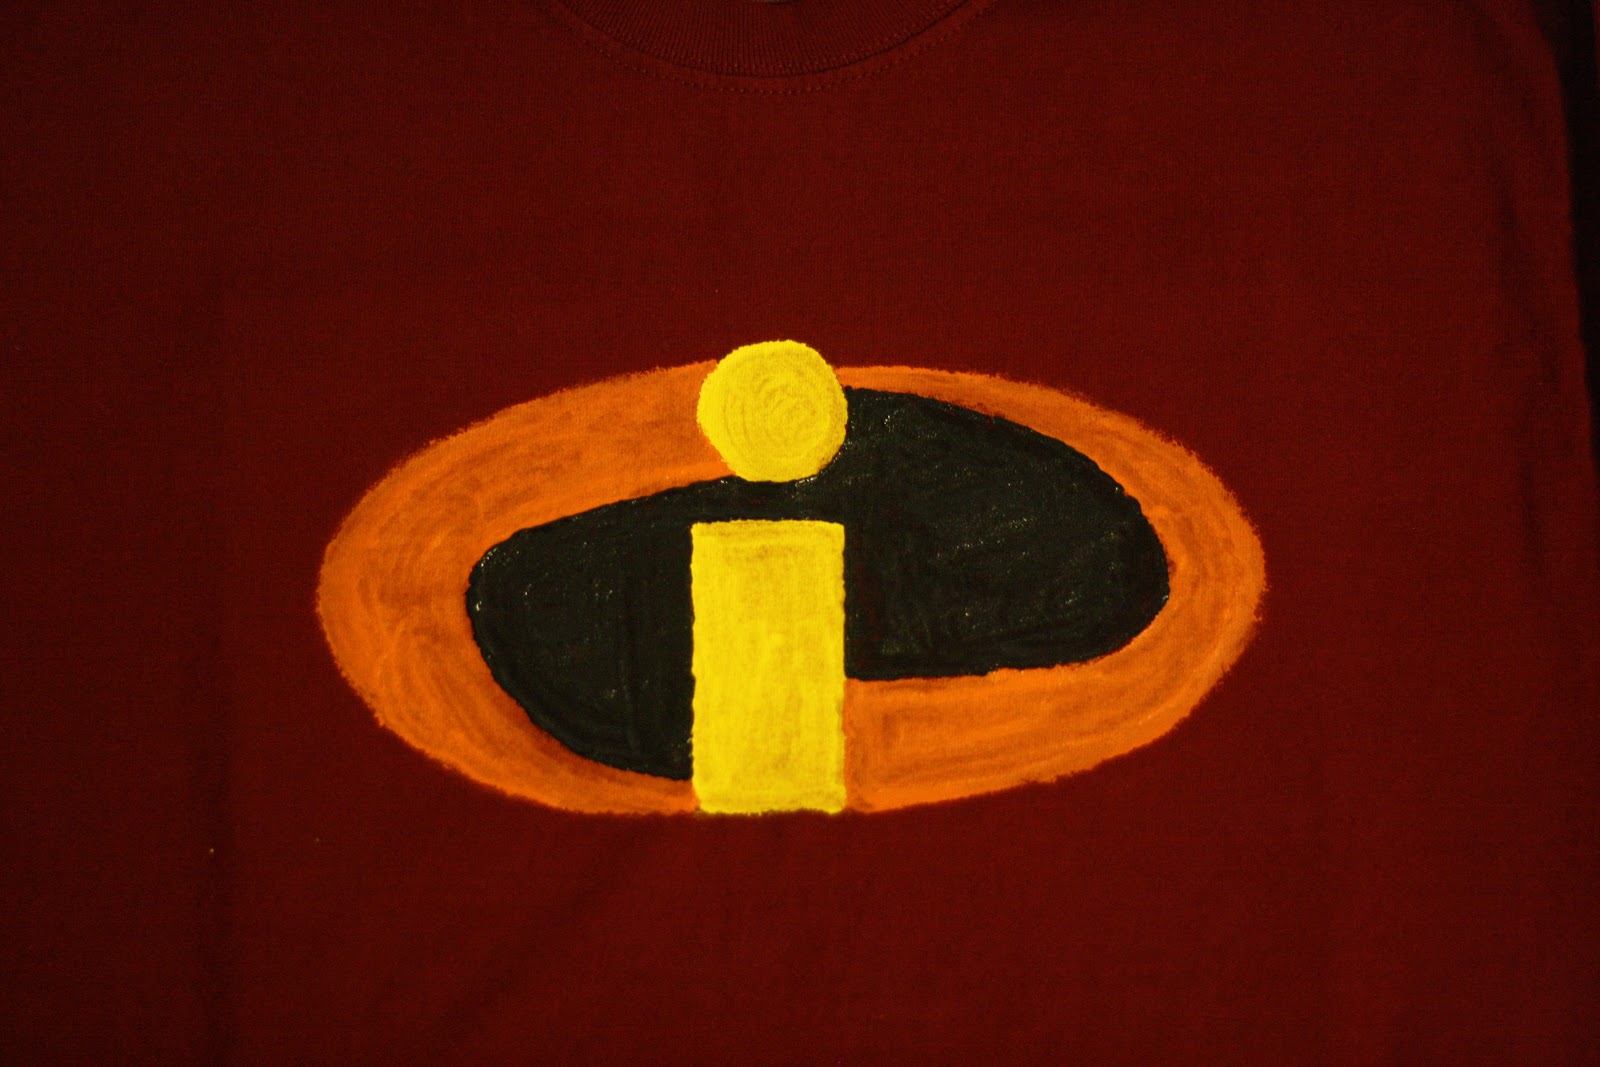
I painted the logo on our t shirts with crafts paint like this:


For the Gloves I used regular knit gloves from Wal-mart and cut the feet off a pair of socks to make them longer. 
For the boots I pulled the same type of socks I used for the gloves over our shoes. For Dash I folded them back over to make them a good size for her. 


For the masks I used this tutorial.
If you are better with a sewing machine than I am, here is a tutorial from someone who sewed instead of painted on the logo. She also has a tutorial for sewing the black bottoms.   


Wednesday, October 10, 2012

Heartfelt Wall Hangings

Over the weekend my mom and I visited our new favorite craft store! Heartfelt Wall Hangings is a cute little vinyl and craft shop in West Jordan Ut. Each month Heidi offers a free craft  related to the fallowing month. This month it is a Thanksgiving craft. She offers classes each day where you can come to her shop and work on your free craft and any other crafts you purchase. She offers all her paints, sander, glitter spray and help to make your vinyl craft.
This is her free craft for October. Is simple yet so cute to get your home ready for Thanksgiving!

While we were there we found these cute blocks too!


Each month the "O" changes to fit the season or holiday. I will be going back in November to make one with a ornament and snowflake for December and January. Here is an example of each month. 
 

We will be going back for more free crafts and all the other cute ideas they have at Heartfelt!

Wednesday, November 2, 2011

Little Red Riding Hood

This was my little girls halloween costume this year.
Here is what I did:
I took a yard of material and cut so that it would be a good length for my daughter.  

Then I took the left over material and cut a square to make the hood. 

Once I had it all cut out I surged the side of the cape and left the top and bottom un-surged.

Then I sewed across the top with the large strait stitch. I found the middle and pulled the stitch I just made so that it looked ruffled. pinned this in place and sewed it in place. Then I surged over that.
For the hood I surged the sides of the hood and then added to my cape and surged them together. I then took the top and folded it in half to surge it together.  

I then added ties to the area where I sewed the hood on.  


This is how it turned out. My riding hood can also be used as a cape I just tuck the hood and its a super hero cape.


Costumes!

This year for Halloween my husband and I were Mary Poppins and Bert, the chimney sweep.
For his costume we needed a chimney sweep obviously. Luckily it was easy and FREE!
I started out with two cardboard boxes, and cut three circles out of them.

I taped up the folds so that I would be a bit more stable when I cut into them.

The next step was to cut around the edge to make it look like the bristles of the broom/sweep.
Then I punched a whole in the center with the broom handle that it will go on, so that the whole is about the same size.

The next step was to spray paint it. I happened to have black spray paint at my house. After the paint dries stick all three on a broom handle (that you have previously taken off the broom on.) and fray the edges that have been cut.
Super easy!!

My next project was the shirt for Mary Poppins. I found a Tuxedo shirt at the thrift store for $1.50!! It was a bit masculine so I thought I would work on  it a bit.
It started out looking something like this.
I was able to take in the sides of the shirt to fit and take off the large sleeves and ruffle the shoulders with the bulk of the fabric.
I also customized the detail on the front of the shirt.

I lowered the detail and added a bow as well as a fringed the collar. What you cannot see the bottom of the tuxedo detail is in the shape of a "V" for a more feminine look.

It turned out to be a success. (Not the photograph, the costumes and our Halloween).

Saturday, October 1, 2011

Halloween is coming!!

With Halloween coming I thought I would share some of my past homemade costumes. 
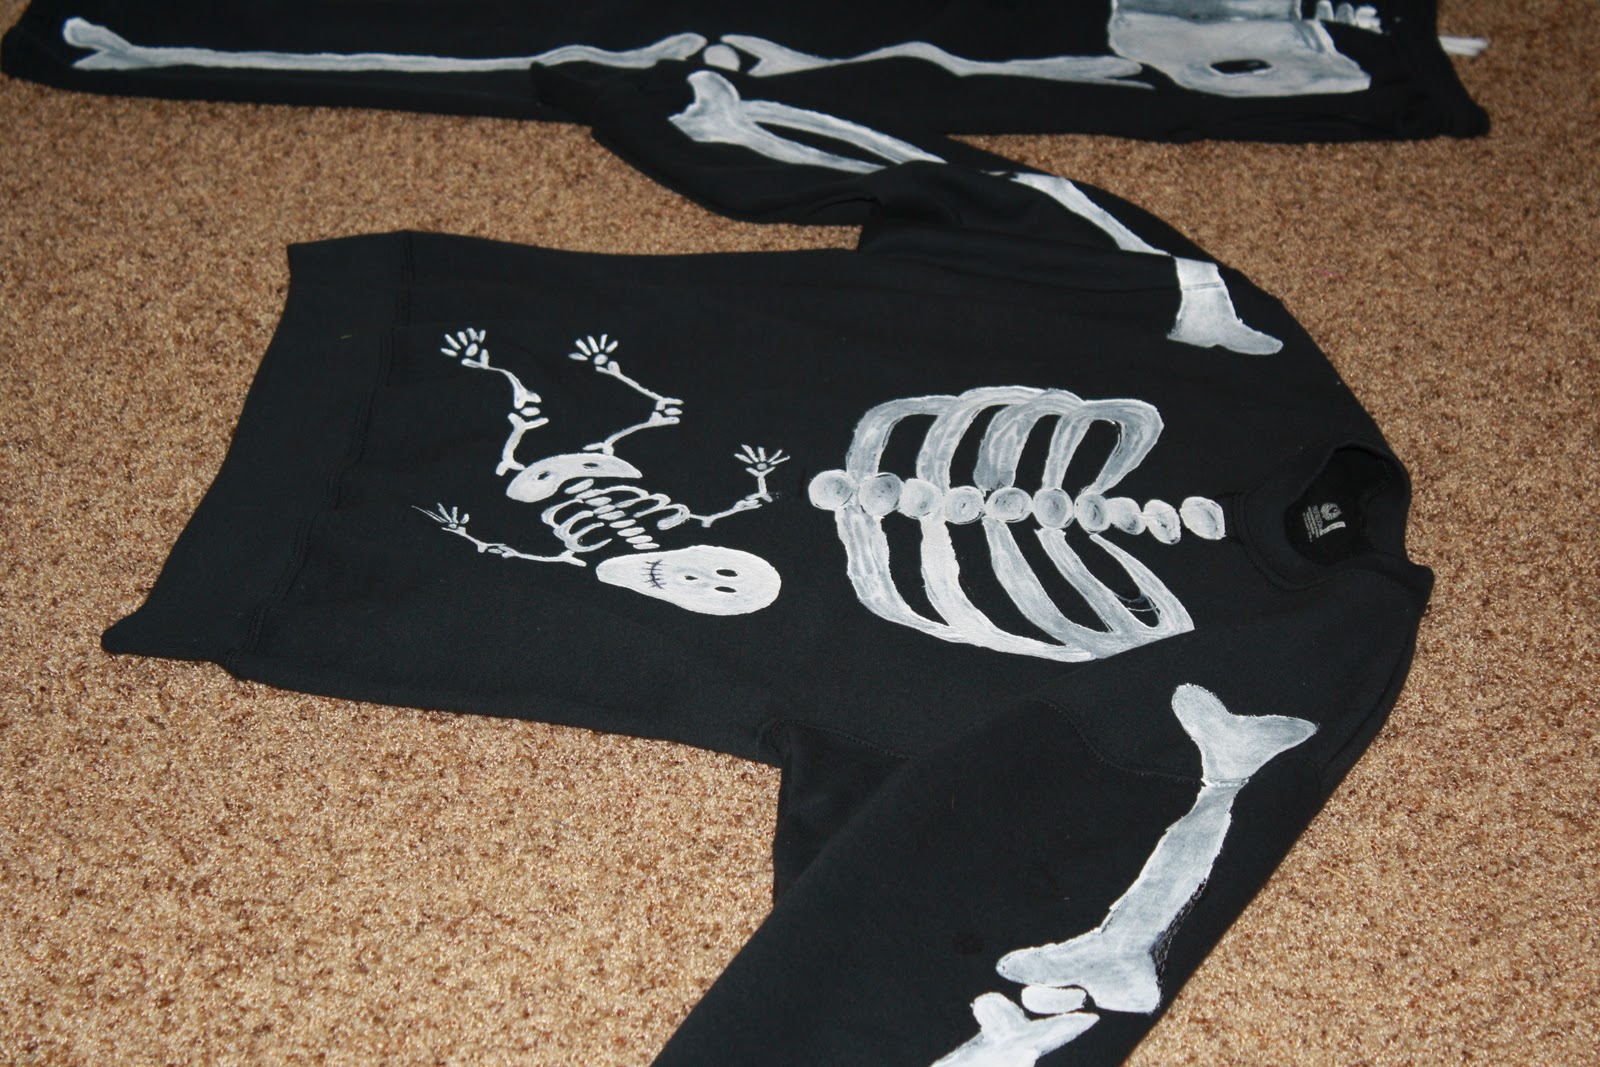
My husband and I did this two years ago. We got some black sweats and used puff paint and q-tips to draw our bones.   


I was pregnant and the time so we put a little baby skeleton in my tummy.