Showing posts with label sewing. Show all posts

Wednesday, February 6, 2013

Easy Baby Blankets

These are some fun easy blankets!
They are so basic that if you don't know a lot about sewing (like me) this will be a good project. You could also use this to teach younger crafters!
I used: 
Two pieces of flannel. (I just got enough material to make them square)
Sewing machine.
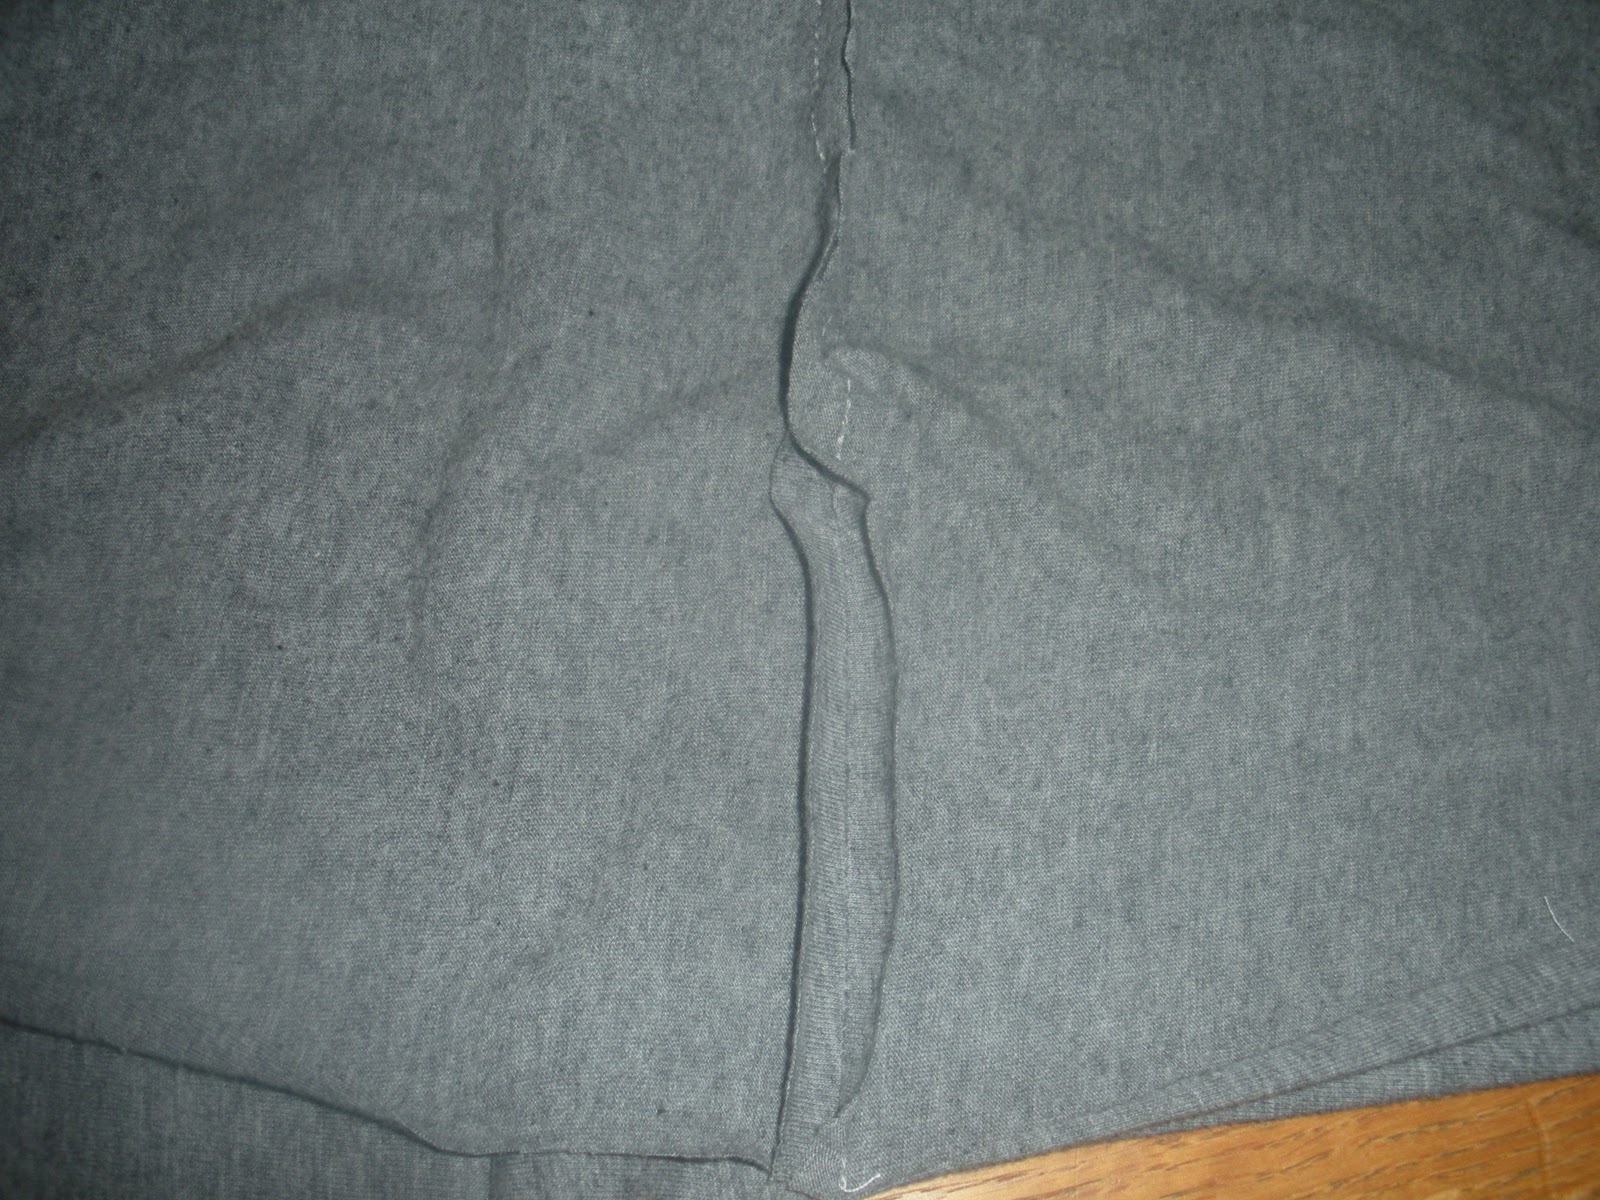
First put your pieces for material front to front. Make sure they are the same size. Then sew around the edge stay close to the edge. Leave a section open to turn your blanket right side out. 

Once you have turned it right side out iron the blanket around the edges to that it will be easy to sew again. Sew around the edges and close the section that you left open. 

 You could be done if you wanted I sewed around one more time for looks. :)


You can find some fun flannel and make some super cute combinations!
You could also make them smaller for baby blankets for your little ones babies. Your Kid and her baby could have matching blankets!


Sunday, October 14, 2012

DIY Halloween Costume

The Incredibles!!
We had an early Halloween party to go to so I got our costumes done last week.
Here is what I did:
I found Mom and Dads sweat pants and long sleeved T at Wal-mart for $6 each.
Dash's T and pants also Wal-mart for about $4 each.
Jack-Jack onesie at DI $2.

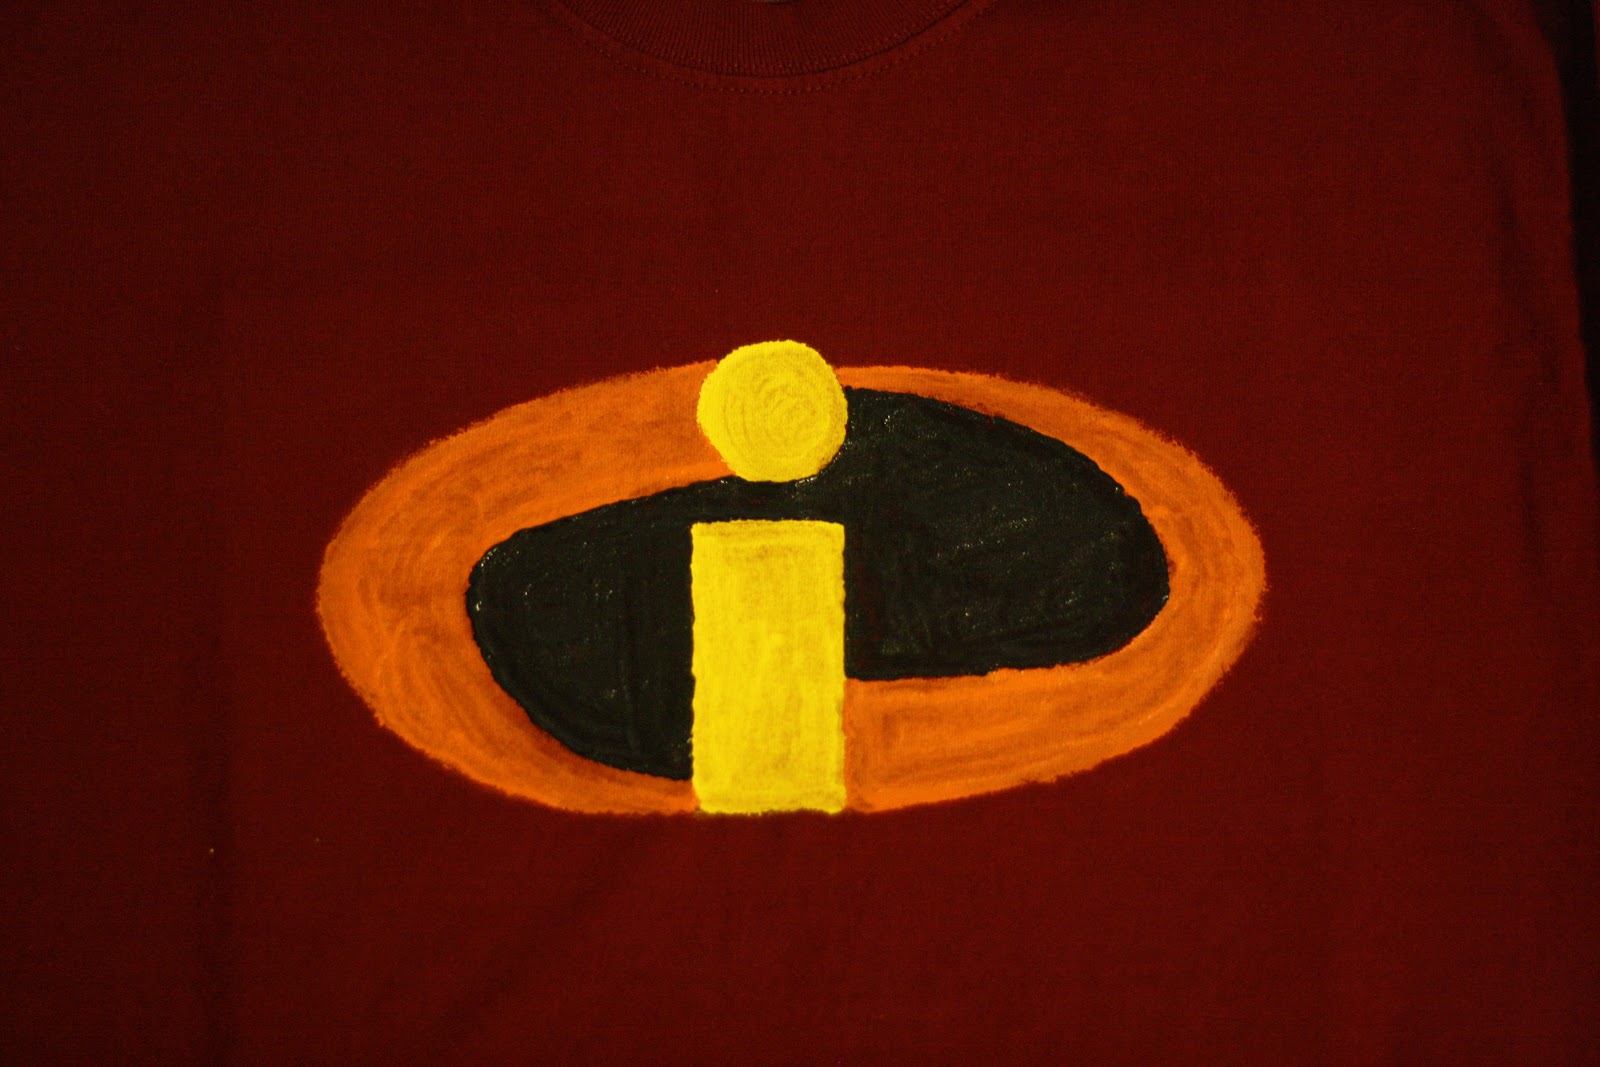
I painted the logo on our t shirts with crafts paint like this:


For the Gloves I used regular knit gloves from Wal-mart and cut the feet off a pair of socks to make them longer. 
For the boots I pulled the same type of socks I used for the gloves over our shoes. For Dash I folded them back over to make them a good size for her. 


For the masks I used this tutorial.
If you are better with a sewing machine than I am, here is a tutorial from someone who sewed instead of painted on the logo. She also has a tutorial for sewing the black bottoms.   


Sunday, July 22, 2012

Jane's Little White Dress

 I am so happy how Miss Jane's dress turned out. I knew when she was born that I wanted to make her blessing dress. At first I wanted to make it out of my wedding dress, but when I pulled out my dress to see what I could do with it I could part with cutting it up. I guess I'm a little partial to it. 
 A baby blessing in the Church of Jesus Christ of Latter Day Saints is essentially a prayer that asks God to watch over the child while on this Earth. It is not necessary, but is an opportunity to receive blessing from our Heavenly Father.
 I really enjoyed making this dress for my sweet baby. I am not an avid sewer so it was pretty simple. I knew what I wanted it to look like. Although next time I would add a few more decorative elements to the dress. Unfortunately I do not have pictures of me making this dress, but I do have links to tutorials that I found as I was sewing and was not able to figure things out on my own. No I did not use a pattern which made it even more fun to make.
The fabric is just a simple cotton I found at the local store. I bought one yard with a pattern and another yard just plain white. My idea for the bodice came from looking at some of my dresses. I did not want to see any of the seems so I used this tutorial from Make it and Love it.
  
I managed to make it through the bodice and part of the sleeves with out any of the seems showing. The tutorial showed how to make the sleeves have no seem but I wanted my sleeve done a little differently. Unfortunately I cant find the exact picture I got the idea from but It looks something like the sleeve from Sew a Fine Seam.
Then I made a simple skirt part by sewing the material into two tubes and base stitched and scrunched them up similar to Make it and love it. I added a few buttons up the back and ribbon for extra detail. 
Most of my ideas came from this dress I found at Homemade By Jill, here, here, and here.
I really liked the way it turned out. I had a lot of making it and definitely learned a lot.

Thursday, March 15, 2012

Bunting for Baby

It's been a while since I have posted anything. I have a few projects that I have done and that I have in mind to create. I am way excited about this one. It going to go in our little baby room, it will be the first decoration we put in there. Bunting is getting pretty popular these days. People are using it to spruce up just about anything. There are a ton of different ways to do it, but this is how I did mine.

What you will need:
Sewing machine or needle and thread
At least 3 different patterns of fabric
Bias tape
cardstock 
ruler
scissors

Cut out a pattern for your triangles, I made mine from cardstock. Cut it out the size you want your bunting and add 1/2 inch for seam allowance. I measured mine 15 cm top, 21 cm down the center. Mark paper in the middle measure 7 1/2 cm from center to both sides and connect together 21 cm from top. Easy as that!
 Fold your fabric right sides together. Mark your pattern on the wrong side of the fabric.
I wanted to do three of each patterns that I chose for this project. Mark all three together to save time and fabric. Pin triangles in the middle before cutting.

Sew along the long edge leaving about 1/4 inch seam allowance. When you get to the point keep the needle down and turn material. Then sew up the other long edge leaving the top open. To save thread and time, there is no need to cut the thread between each one. just sew a couple of extra stitches and add the next triangle. Follow the same steps for all of them.
After all the long sides have been sewn, trim the tip of the point so that it's not bulky when you turn it. Cut thread that was left between the triangles. Turn all triangles right sides out. Use a pencil to make sure the tip comes to a point when turning all triangles.
 Now they are ready to be ironed. I used the cardstock from before to keep the seams tight when ironing. Just stick the cardstock in the "pocket" and iron out those wrinkles.
When they are all ironed put your bunting in the order you want it to be in. Keep them in the order so it's easier when you're sewing.
Add the bias tape to the top edge of the bunting. I didn't have any bias tape so I made my own from some fabric I had at home. Sew about 10 cm of bias tape together before adding the first triangle so you have enough to fold over to hang it up. Add each triangle between the bias tape and sew using a 1/4 inch seam allowance. Before adding each triangle make sure you space them apart. I used the edge of the metal piece (I don't know all sewing machine terms). I finished each triangle and added the next one at the edge of the metal piece and sewed along the bias until the triangle came up.
Once all of the Triangles have been sewn of the bias tape leave another 10 cm to the end. Fold back the bias tape and sew back and forth to secure it to the bunting, and you've got a perfect loop for hanging it up!

It has been so fun to make this. I hope you enjoy this tutorial. Please leave a comment if you don't understand any of the steps.

Thursday, December 8, 2011

Belly Band

Since being pregnant I have been hearing about this Belly Band and wanted to try it out. I was going to wait and make some with my sister when I visited Utah. Unfortunately, in the last few days my belly has grown quite a bit and my pants started to get a little tight.
For those who don't know a Belly Band is made from stretchy material that looks like an undershirt but you wear it over your pants and keep your button undone for those who need a little extra space.

I used extra material that I had at my house.
Materials:
about 1/2 yard of knit or stretchy fabric (waist size previous to pregnancy by 20")
Sewing machine with stretch setting or zigzag stitch
Stretch needle or ball point needle.

I did not have a piece of material wide enough, so I had two 13" pieces plus 1/2 for seam allowance. Sew both long side together good sides facing each other so you have a long tube. Unless you have a long enough piece of material to fit your waist. Then you would sew the 20" sides together.

 Then Iron the seams to make a good finished product in the end.

Sew one short side together still inside out. Then go to the other short end and put it through to make a tube still inside out to keep seams consistent. If you have one long piece skip this step.
The sew around the short end of the tube, but not all the way around so that you can turn it right side out. All you need now after turning it right side out is to finish sewing the rest by hand to close the rest of the seam.

Lie it flat and iron it out to make it look beautiful. Flip it around so that the seam is on the inside of the band and put it on.
Check how mine turned out. It looks like a normal undershirt and I can now wear my pants!


Wednesday, November 2, 2011

Little Red Riding Hood

This was my little girls halloween costume this year.
Here is what I did:
I took a yard of material and cut so that it would be a good length for my daughter.  

Then I took the left over material and cut a square to make the hood. 

Once I had it all cut out I surged the side of the cape and left the top and bottom un-surged.

Then I sewed across the top with the large strait stitch. I found the middle and pulled the stitch I just made so that it looked ruffled. pinned this in place and sewed it in place. Then I surged over that.
For the hood I surged the sides of the hood and then added to my cape and surged them together. I then took the top and folded it in half to surge it together.  

I then added ties to the area where I sewed the hood on.  


This is how it turned out. My riding hood can also be used as a cape I just tuck the hood and its a super hero cape.


Thursday, August 18, 2011

Camera Strap

Sewing is not one of my strong suits, I don't do it very often and when I do I am using my thread ripper more than the actual sewing machine. BUT the other day I found this tutorial and Lori explained how to make this camera strap cover so well, that I decided to try it.  
I liked it because it had a little pocket for my lens cap.


Don't look to close because it is not perfect but it was very easy to make. I added a diagonal line so that the cover would stay in place. 

DIY under $5


Creations by Kara


Thursday, July 28, 2011

Warm Fuzzy Bag

I love to camp!! But sometimes I get so cold at night, then I remembered something that I was given when I was younger. Some awesome leaders that I had gave me a bag with a bottle in it that we would  fill up with hot water and put it at the bottom of our sleeping bag and it would keep us warm all night long!
So I decided to make some for my self and for the other craft leaders who worked with me at girls camp.

This is what I did... 
I got some fleece

and some medical bottles

I cut the fleece into 10x13 inch pieces and folded them in half the long way

I surged the two sides

Then folded over the top and sewed it to make a place for the string to go.


I cut two cuts into the tube for the string to go into and tie at.


 So you just put hot water in your bottle and put it at the bottom of your sleeping bag and the fleece keeps it warm longer.

When I gave it to the women at camp I had a little description tag with it that said

"There once was a village that was full of kindness love and compassion. Each member of the village owned a special bag filled with warm fuzzies. The people in the village gave each other warm fuzzies any time the wanted to let someone know they were loved. This is my warm fuzzy to you to let you know that you are loved.
Fill your bottle with warm water and put it in your warm fuzzy bag at the bottom of your sleeping bag. As you are warm in your bed, think of way you can let others know they are loved too."

I got the idea from this blog.