Showing posts with label cricut. Show all posts

Thursday, March 7, 2013

Growth Chart

I have been wanting to make one of these for a while now. 


We are a military family and we will be moving around for the rest of our lives. 
I really wanted to have a door or something to mark the growth of my kids but I know that we wont have a home like that so this was my solution. I can track my kids growth in every place we live. 


This is what I used:
Wood: I used a 1x6 that is 6ft tall. I got mine from Home Depot it was already finished. 
Numbers cut on Cricut.
Square
Tape measure
Sharpie
Hammer and something to hang it on the wall.


First I used my tape measure to make marks ever inch all the way up my board.


Once I have marks ever inch then I used my square and sharpie to make marks like this.
My mark lengths were in this order.
1 inch
1 inch
1 1/4 inch
1 inch
1 inch
1 1/2 inch
1 inch 
1 inch 
1 1/4 inch 
1 inch
1 inch
2 inches
I hope the make sense so at the half foot mark my line was an inch and a half long and at the foot line my mark was 2 inches long. 


Then I put my Cricut number next to the 2 inch lines.
With my numbers I did not start at 0 I started at 6 inches. So number 1 is only 6 inches from the bottom. When I hang it on the wall I want the bottom to be six inches from the floor.


I measured six inches from the floor and made a mark on my wall with a pencil. 
Then I put my metal piece to hang it up on the back and used the tooth paste technique to know where to put the nail in the wall to hang my board. 


Once it is hanging you can measure your kiddos!


Cool right! I think so :)

Monday, July 23, 2012

Holiday Crafting

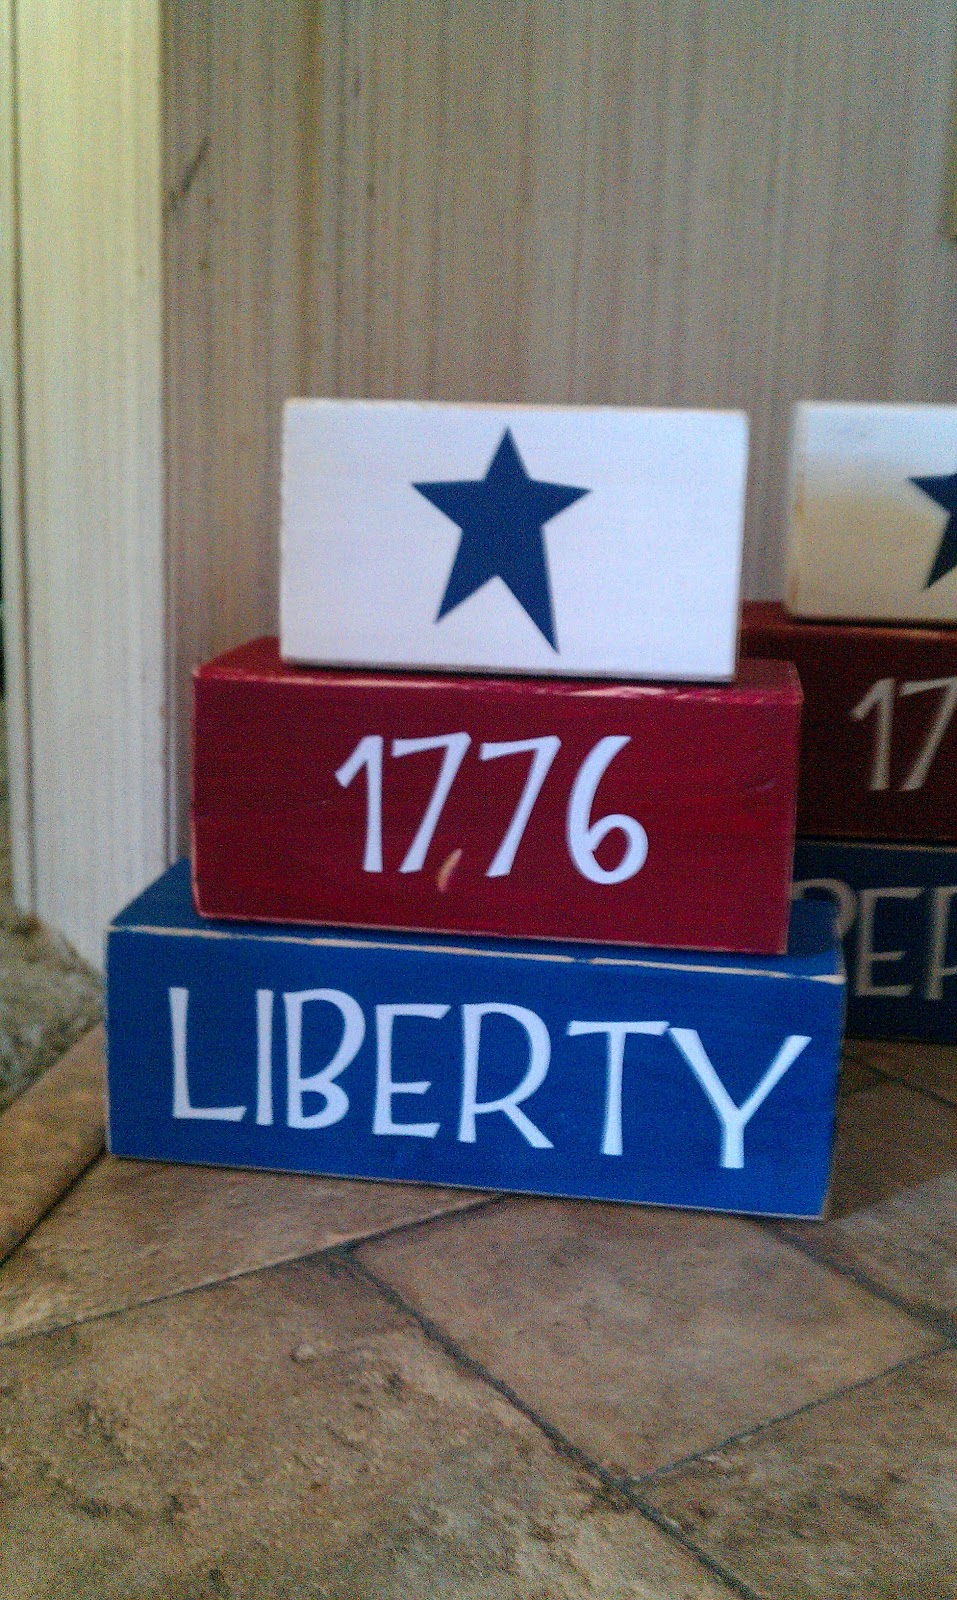
 I couple of weeks ago my friends and I got together to make this found on none other than Pinterest. So when I went back to Utah I made something similar with my mom. It's super easy, cheap and turned out really well too.
 We bought a 4x4 at a hardware store for around $8 and had them cut 2 at 12", 2 at 10" and 2 at 8". Sanded and painted then added White vinyl cut with the Cricut machine at 1.5". I decided to take the craft from the link above and make it my own so I cut out a star from scrapbook paper using the Cricut and ModPodged it on. We made one for my mom and one for Makenna. I mine at home already.
 Since the 4x4 came in 8' pieces we had a ton left over, so we cut these. I think they are 9" and 7" in length. I like that each one turned out a little differently.
 Mom wanted crazy letters.
 We made Mak's just simple and cute.
The only difference in mine is capital letters.
We sure had fun making these together. Thanks mom for a great time and letting me make a mess of your kitchen table.

Wednesday, December 28, 2011

Christmas Crafts

I have been crafting a little this December but I didn't want to blog about it because I was doing most of it as gifts. 
I got this idea from Mon Petit Violon she had a ton a great patterns. If you decide to try this one I would recommend making them smaller than your shoe size.  

I got this idea from Sarah Ortega she explains in great detail how to make these. I did one for my Mom, sister and my self. My Mom's is in the center there is a bead for each of her children. I thought about doing birth stone colors but we all have a red birthstone so I did favorite colors instead. My sisters in the brown one and it has one bead. She is expecting her first child in April, and the birthstone in April is a diamond, so I did a clear bead. Mine has two beads one for my daughter who was born in November and one for my second child who is due in May. 

For these I just used a washer, scrapbook paper and mod podge. I cut them out with a whole punch and scissors. They were super simple, I just did a layer of mod podge on the washer and a few layers on top.  

This idea came from pinterest. I saw this quote and loved it. I made this for both my Mom and my Mother-in-law! 

Thursday, April 21, 2011

Johnson FHE board

A couple of weeks ago my sister did a blog post displaying her Family Home Evening board. I wanted to take the opportunity to share the board I made for my family. 
I made it the same way I made my "welcome" board. Using the left over plywood I had painted it red and cut letters out on my Cricut machine.
So fun, so easy. It's not completely finished yet. I want to add a narrow piece of metal under the "assignments", and create magnets for each member of my family.

Family Home Evening is a great way to spend precious time with the ones you love, learning about religious beliefs, such as being able to be with our families forever. I have read somewhere that when a family spends time together often, as children grow they get into less trouble and tend to stay on a good narrow path of life. A weekly family home evening can facilitate that. 

Thursday, March 31, 2011

Family Home Evening Board

A Family Home Evening Board is something that you may find in a Mormon home. We do something on monday nights called Family Home Evening. Its much like a family game night. We use monday night to teach our kids about religion, prayer and we play together. 
I got this metal board at the wood connection, but I was even thinking you could use a cookie sheet. I cut out my vinyl letters on a cricut.

I made a card for each member of my family and I have a few extra for the members to come. They are laminated so if we have visitors we can write them into the rotation with a dry erase marker.


Each week we take turns doing the activities of Family Home Evening.

The magnets I made and a tutorial can be found here. At the wood connection they used gemstones hot glued to magnets. I also made one for my Mom and Mother-in-law, I made theirs a little different I put grandkids in vinyl letters. They use the board to showcase their grandkids! 

Sunday, March 20, 2011

Princess Sign

My little girls room is Purple and Yellow so I made this sign to go in her room. First I got the wood and painted two coats of purple. I then sanded the edges. I cut the letter out of vinyl on the cricket, I cut white out first then I cut purple one size smaller than the white. Using the contact paper I put the white letters on the board so that they would be evenly spaced then I put the purple letter on top one by one.   

The letters and the crown come from the alphalicious cartridge


Wednesday, March 16, 2011

Spring/Easter Blocks

As you might already know the words spring and easter both have 6 letters, so my Mom, sister and I thought why not make one set of blocks out of the two words. So we got six blocks each a different size, we painted them each a different color and on one side we put the word Spring and on the other we put Easter. 


We used a cricket to cut out the letters, each block is a different size so each letter is also a different size. To make sure that the letters fit the blocks the way we wanted to we cut the letters first out of paper then we cut them out of vinyl. For my blocks I cut Spring in yellow vinyl and kept the paint solid, then cut the letters of Easter out on white vinyl and sanded the edges of my blocks. 

The thing about doing crafts with other people is that you can do the same craft and have the ending creation look so much different than the others. These blocks have a hint of accent on the edges, as well as different order of sizes and colors.

Its also fun to mix it up by using different fonts for each block and deciding to use capital letters of lower case to make it look your own. Lets see what you can come up with.

and