Showing posts with label Paint. Show all posts

Sunday, October 14, 2012

DIY Halloween Costume

The Incredibles!!
We had an early Halloween party to go to so I got our costumes done last week.
Here is what I did:
I found Mom and Dads sweat pants and long sleeved T at Wal-mart for $6 each.
Dash's T and pants also Wal-mart for about $4 each.
Jack-Jack onesie at DI $2.

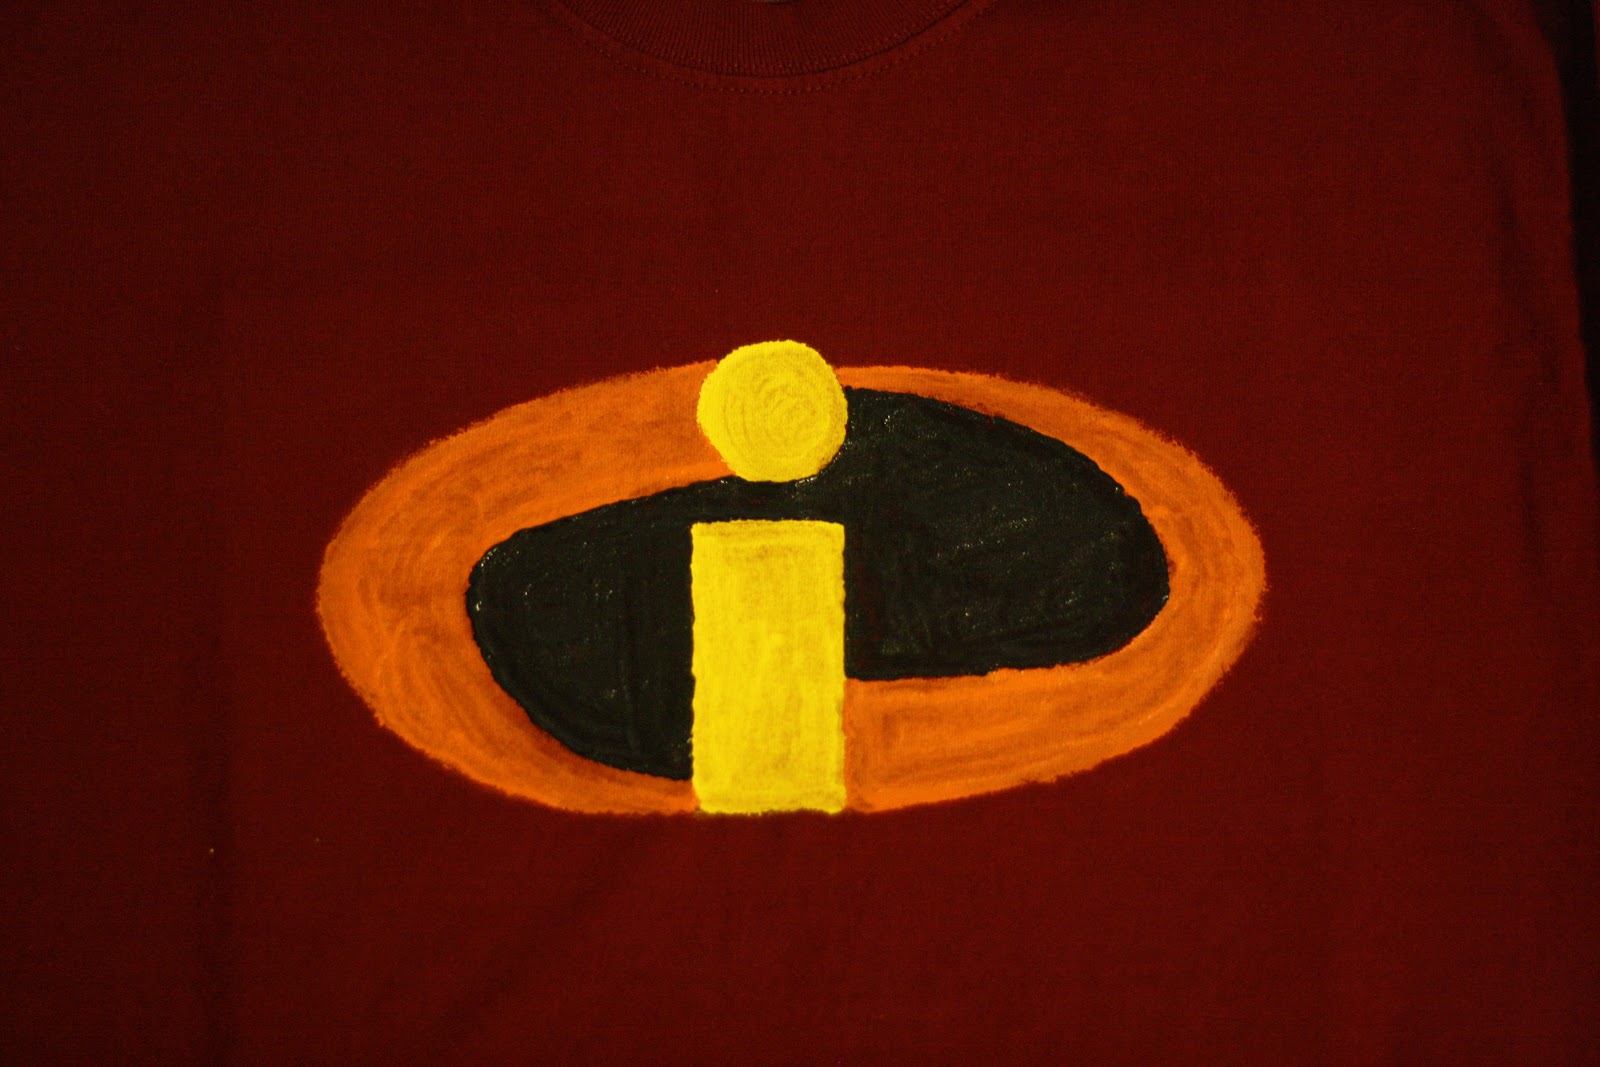
I painted the logo on our t shirts with crafts paint like this:


For the Gloves I used regular knit gloves from Wal-mart and cut the feet off a pair of socks to make them longer. 
For the boots I pulled the same type of socks I used for the gloves over our shoes. For Dash I folded them back over to make them a good size for her. 


For the masks I used this tutorial.
If you are better with a sewing machine than I am, here is a tutorial from someone who sewed instead of painted on the logo. She also has a tutorial for sewing the black bottoms.   


Wednesday, October 10, 2012

Heartfelt Wall Hangings

Over the weekend my mom and I visited our new favorite craft store! Heartfelt Wall Hangings is a cute little vinyl and craft shop in West Jordan Ut. Each month Heidi offers a free craft  related to the fallowing month. This month it is a Thanksgiving craft. She offers classes each day where you can come to her shop and work on your free craft and any other crafts you purchase. She offers all her paints, sander, glitter spray and help to make your vinyl craft.
This is her free craft for October. Is simple yet so cute to get your home ready for Thanksgiving!

While we were there we found these cute blocks too!


Each month the "O" changes to fit the season or holiday. I will be going back in November to make one with a ornament and snowflake for December and January. Here is an example of each month. 
 

We will be going back for more free crafts and all the other cute ideas they have at Heartfelt!

Monday, July 23, 2012

Holiday Crafting

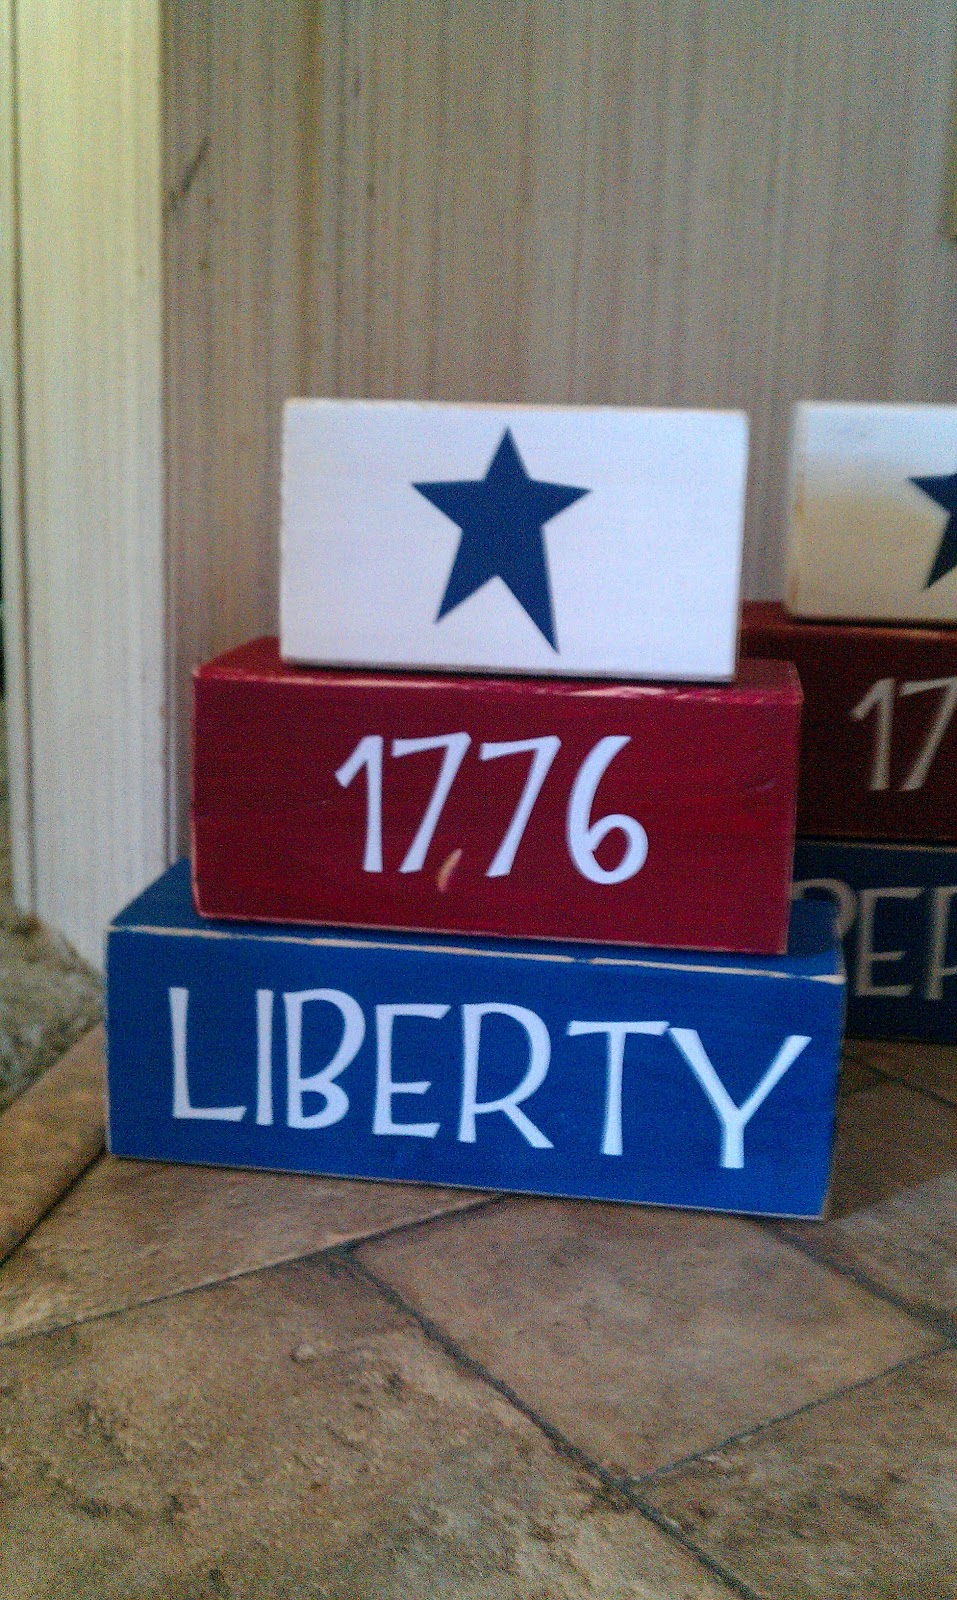
 I couple of weeks ago my friends and I got together to make this found on none other than Pinterest. So when I went back to Utah I made something similar with my mom. It's super easy, cheap and turned out really well too.
 We bought a 4x4 at a hardware store for around $8 and had them cut 2 at 12", 2 at 10" and 2 at 8". Sanded and painted then added White vinyl cut with the Cricut machine at 1.5". I decided to take the craft from the link above and make it my own so I cut out a star from scrapbook paper using the Cricut and ModPodged it on. We made one for my mom and one for Makenna. I mine at home already.
 Since the 4x4 came in 8' pieces we had a ton left over, so we cut these. I think they are 9" and 7" in length. I like that each one turned out a little differently.
 Mom wanted crazy letters.
 We made Mak's just simple and cute.
The only difference in mine is capital letters.
We sure had fun making these together. Thanks mom for a great time and letting me make a mess of your kitchen table.

Saturday, November 19, 2011

Kitchen

Last month I posted about a play kitchen that I want to make for my daughters birthday here. Over the past few weeks I have been working on one. My hope was to not spend much more that $50.
Cost:
Wood- Free my dad had some left over wood from another project.
Sink- $11 (Orson Gigi)
Knobs- $5 (Home Depot)
Fridge and oven handles- $7 (Home Depot)
Baskets- $4 (Dollar Tree)
Hinges- $6 (Home Depot)
Plexiglass- $3 (Home Depot) 
Cup hooks- $4 (Home Depot)
Faucet- Free it was being thrown away.    
Total- $40
The wood could have cost around $15 and I decided to use a real sink because I found one that was being thrown away. The sink I got could have cost around $30. If I didn't have the sink I would have made the faucet out of pipe. 


Some of the blogs that I looked at used an Ikea book shelf as the base and then added to that but because I had access to wood and a brother I cut my own wood out of a sheet of plywood. 


I added these knobs for the burners and oven temp. 


The smaller baskets I will add to the door to make it look more like a fridge. 


Inside the oven I added a square cooling rack for her to put baking goods on. 


My brother made this shelf and I added the cup hooks to hang the utensils. 


I also plan on adding some tiles and vinyl lettering above the sink to personalize it for my daughter. 

This is our Kitchen, a big thanks goes out to my Brother and Dad who helped big time with the wood and work to help put it together. 
If anyone wants more detail on how much wood and dimensions just let me know I would be happy to help.

Saturday, November 12, 2011

Entertainment Stand

I have been wanting to get a new entertainment center for a while now. After pricing them out, I just couldn't do it. Last week a friend of mine and I went to a salvage yard and we found this beauty for $30.
I bought it knowing that I would paint it and maybe make a few minor adjustments. You cant beat that deal.

To get started on this project I sanded all the surfaces that I was going to paint so that the paint would adhere to the wood. We bought paint that had primer with it so that we wouldn't spend more money than we needed.
I white-washed just the surfaces that would be seen when the drawers were closed or could be easily spotted when they were open.

I did this inside because it was so cold outside. I had a space heater on and the door open to make it tolerable.
Antiquing it was fun and difficult. I had never done this antique technique and never on a project this big. The antique glaze was made combining four parts glaze and one part paint. I used a dark brown, almost black color. Paint the glaze in places that you would see normal wear and tear and wipe it off with a damp cotton rag.
Then we just added a polyurethane coat. I did this outside, oil based paints have crazy fumes. All we need now, besides awesome knobs, is the ENTERTAINMENT.

 The hubby likes this project a bunch. I enjoy it myself. Its also a plus that even with all of the supplies to paint it, it was not as pricey as some I've been looking at.

Friday, August 12, 2011

Living Room Redo

We recently moved and all of our furniture in the living room furniture is brown and it needed some livening up. I wish that I had a picture of the before coffee table. and the brown living room. I guess you'll just have to take my word for it.

This is the coffee table and legs. We were a bit disappointed with the color but I think it will improve when we antique it later. 
 Our old dresser/makeshift TV stand. I hope you notice the nice remains of the sticker that was once placed there.
 and now the sticker is non-existent.


What do you think of the color. I think it really livens up the living room quite a bit. Yeah for bright paint colors.