Thursday, December 1, 2011

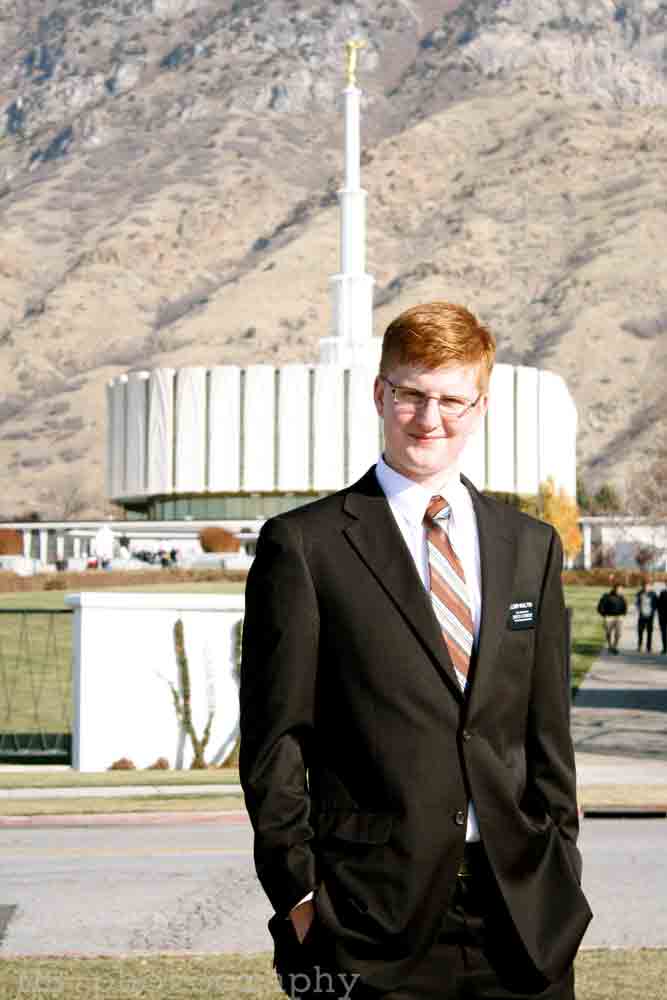
Photos for A New Missionary

I took these for a missionary entering the MTC! 


a before of the shoes!


Good Luck Elder!

Friday, November 25, 2011

Christmas Countdown

Last year Makenna made a Christmas advent calendar out of blocks and I have been wanting to do the same. So, for Super Saturday this year there was a craft that used blocks so instead of making the craft they were meant for I took them home and made this out of them.
Now we will know that how many days there are left until Christmas. I think that they turned out really well.

Tuesday, November 22, 2011

Tuesday Treats: Frozen Hot Chocolate


I have been craving Frozen Hot Chocolate from Dairy Queen, and I found this recipe at mels kitchen cafe.com and tried it out. It turned out so good! 
INGREDIENTS:
4 ounces of your favorite chocolate (I used semi-sweet chocolate)
2 teaspoons store-bought hot chocolate powder
1 1/2 tablespoons sugar
1 1/2 cups milk
3 cups ice cubes
lightly sweetened whipped cream
chocolate shavings (optional)
DIRECTIONS:
Chop chocolate into small pieces and melt in microwave on low heat. Once melted, add hot chocolate mix and sugar, stirring constantly until thoroughly blended. Slowly add 1/2 cup milk, stirring until smooth. Cool to room temperature.
In blender, place the remaining 1 cup milk, room-temperature chocolate mixture and ice.
Blend on high speed until smooth and the consistency of a frozen daiquiri. Enjoy! (This recipe made a large blender full – I believe I got at least 4 8 oz. servings from one batch.)

I also found this recipe its a little more work but its totally worth it if you have the time and ingredients!
I found this one at Tasty Kitchen


  • 3 Tablespoons Granulated Sugar
  • 1 package Hot Cocoa Mix (about 3 Tablespoons)
  • 2 Tablespoons Unsalted Butter
  • ⅓ cups Semi-Sweet Chocolate Chips
  • ⅓ cups White Chocolate Chips
  • 12 ounces, fluid Can Evaporated Milk, Divided
  • 4-½ cups Ice
  • Whipped Cream, To Taste
  • Mini Marshmallows, To Taste

Combine sugar, cocoa mix, and butter in the top of a double boiler that is set over gently boiling water. Stir often until melted and a smooth paste forms. Add semi-sweet & white chocolate chips; stir. When chips begin to melt, slowly stir in 1/2 cup of evaporated milk. Stir until smooth. Cool to room temperature.

Combine the chocolate base mixture, the remaining evaporated milk and ice in a blender (you can do this in batches) and cover. Blend until smooth. Pour into frosty glasses. Top each with whipped cream. Sprinkle with additional chopped chocolate chips & mini marshmallows, if desired.


We hope you had a good tuesday!

Saturday, November 19, 2011

Kitchen

Last month I posted about a play kitchen that I want to make for my daughters birthday here. Over the past few weeks I have been working on one. My hope was to not spend much more that $50.
Cost:
Wood- Free my dad had some left over wood from another project.
Sink- $11 (Orson Gigi)
Knobs- $5 (Home Depot)
Fridge and oven handles- $7 (Home Depot)
Baskets- $4 (Dollar Tree)
Hinges- $6 (Home Depot)
Plexiglass- $3 (Home Depot) 
Cup hooks- $4 (Home Depot)
Faucet- Free it was being thrown away.    
Total- $40
The wood could have cost around $15 and I decided to use a real sink because I found one that was being thrown away. The sink I got could have cost around $30. If I didn't have the sink I would have made the faucet out of pipe. 


Some of the blogs that I looked at used an Ikea book shelf as the base and then added to that but because I had access to wood and a brother I cut my own wood out of a sheet of plywood. 


I added these knobs for the burners and oven temp. 


The smaller baskets I will add to the door to make it look more like a fridge. 


Inside the oven I added a square cooling rack for her to put baking goods on. 


My brother made this shelf and I added the cup hooks to hang the utensils. 


I also plan on adding some tiles and vinyl lettering above the sink to personalize it for my daughter. 

This is our Kitchen, a big thanks goes out to my Brother and Dad who helped big time with the wood and work to help put it together. 
If anyone wants more detail on how much wood and dimensions just let me know I would be happy to help.

Saturday, November 12, 2011

Entertainment Stand

I have been wanting to get a new entertainment center for a while now. After pricing them out, I just couldn't do it. Last week a friend of mine and I went to a salvage yard and we found this beauty for $30.
I bought it knowing that I would paint it and maybe make a few minor adjustments. You cant beat that deal.

To get started on this project I sanded all the surfaces that I was going to paint so that the paint would adhere to the wood. We bought paint that had primer with it so that we wouldn't spend more money than we needed.
I white-washed just the surfaces that would be seen when the drawers were closed or could be easily spotted when they were open.

I did this inside because it was so cold outside. I had a space heater on and the door open to make it tolerable.
Antiquing it was fun and difficult. I had never done this antique technique and never on a project this big. The antique glaze was made combining four parts glaze and one part paint. I used a dark brown, almost black color. Paint the glaze in places that you would see normal wear and tear and wipe it off with a damp cotton rag.
Then we just added a polyurethane coat. I did this outside, oil based paints have crazy fumes. All we need now, besides awesome knobs, is the ENTERTAINMENT.

 The hubby likes this project a bunch. I enjoy it myself. Its also a plus that even with all of the supplies to paint it, it was not as pricey as some I've been looking at.

Wednesday, November 2, 2011

Little Red Riding Hood

This was my little girls halloween costume this year.
Here is what I did:
I took a yard of material and cut so that it would be a good length for my daughter.  

Then I took the left over material and cut a square to make the hood. 

Once I had it all cut out I surged the side of the cape and left the top and bottom un-surged.

Then I sewed across the top with the large strait stitch. I found the middle and pulled the stitch I just made so that it looked ruffled. pinned this in place and sewed it in place. Then I surged over that.
For the hood I surged the sides of the hood and then added to my cape and surged them together. I then took the top and folded it in half to surge it together.  

I then added ties to the area where I sewed the hood on.  


This is how it turned out. My riding hood can also be used as a cape I just tuck the hood and its a super hero cape.