Wednesday, February 29, 2012

Woodland Creatures Baby Shower!

I did these for my sister who is having a baby girl in April!! She is having a baby shower soon and the theme is woodland creatures.

After I did the shower invitation I decided to do a thank you card for her to match. 


Then while I was at it and I was having so much fun I did a birth announcement. 


If you like these and would like me to personalize them for you let me know. Ill do each one for $10 and $25 for all three! I can also make them in blue if you are expecting a boy!

Tuesday, February 7, 2012

New Beginnings

We have blogged about our religion several times here on this blog and we have some links to find out more information
  I'm a Mormon. with this link you can find out a lot more about what I believe specifically and here you can find out more about our church.
Today I am going to blog about an organization we have in our church for youth. A few months ago I was asked to be a leader for the young women in our ward. As a church we have something every year for the young women called New Beginnings. This is where the Theme that we will be focusing on all year in introduced, and new girls that will be turning 12 and joining young women's are introduced to what we do.
This year our Theme is Arise and Shine Forth  this comes from a scripture in Doctrine and Covenants that says "Arise and shine forth, that thy light may be a standard for the nations" the link above is an article how we are going to use this through out the year to teach the youth about being an example to others. 
So what does this have to do with our craft blog well let me tell you... 
I found these printables on this blog and a few ideas from pinterest and came up with

these. They are pillow cases that we are going to give the young women at New Beginnings. 

Here is how I did it
Super easy I found my image
Then I got these fabric transfers at Wal-mart for about $7 
and my pillow cases for 2 for $4 also at Wal-mart. 
Just follow the instructions for the transfers that are in the box iron on your image to your pillow case and 

you get some super cute pillows! Now the girls can wake up each morning and have a reminder to arise and be an example to others!
The fabric transfers are super easy to use and can be used for so many things!

I also made some invitations for the girls to give their parents to invite them to new beginnings here is how they turned out...

Front

back
Super easy and fun for the girls to help make and then give to their parents!

Saturday, January 14, 2012

50th Birthday Party!

This was the first event I have taken pictures for. I really enjoyed taking pictures at this party. It was a surprise 50th birthday party.


The party was a hit and the birthday boy was super surprised!!

Monday, January 2, 2012

Maternity Photos

I got to take some maternity and family photos for my sisters this weekend. She is 24 weeks along. I had so much fun taking these pictures. She is such a cute pregnant girl!


Wednesday, December 28, 2011

Christmas Crafts

I have been crafting a little this December but I didn't want to blog about it because I was doing most of it as gifts. 
I got this idea from Mon Petit Violon she had a ton a great patterns. If you decide to try this one I would recommend making them smaller than your shoe size.  

I got this idea from Sarah Ortega she explains in great detail how to make these. I did one for my Mom, sister and my self. My Mom's is in the center there is a bead for each of her children. I thought about doing birth stone colors but we all have a red birthstone so I did favorite colors instead. My sisters in the brown one and it has one bead. She is expecting her first child in April, and the birthstone in April is a diamond, so I did a clear bead. Mine has two beads one for my daughter who was born in November and one for my second child who is due in May. 

For these I just used a washer, scrapbook paper and mod podge. I cut them out with a whole punch and scissors. They were super simple, I just did a layer of mod podge on the washer and a few layers on top.  

This idea came from pinterest. I saw this quote and loved it. I made this for both my Mom and my Mother-in-law! 

Thursday, December 8, 2011

Belly Band

Since being pregnant I have been hearing about this Belly Band and wanted to try it out. I was going to wait and make some with my sister when I visited Utah. Unfortunately, in the last few days my belly has grown quite a bit and my pants started to get a little tight.
For those who don't know a Belly Band is made from stretchy material that looks like an undershirt but you wear it over your pants and keep your button undone for those who need a little extra space.

I used extra material that I had at my house.
Materials:
about 1/2 yard of knit or stretchy fabric (waist size previous to pregnancy by 20")
Sewing machine with stretch setting or zigzag stitch
Stretch needle or ball point needle.

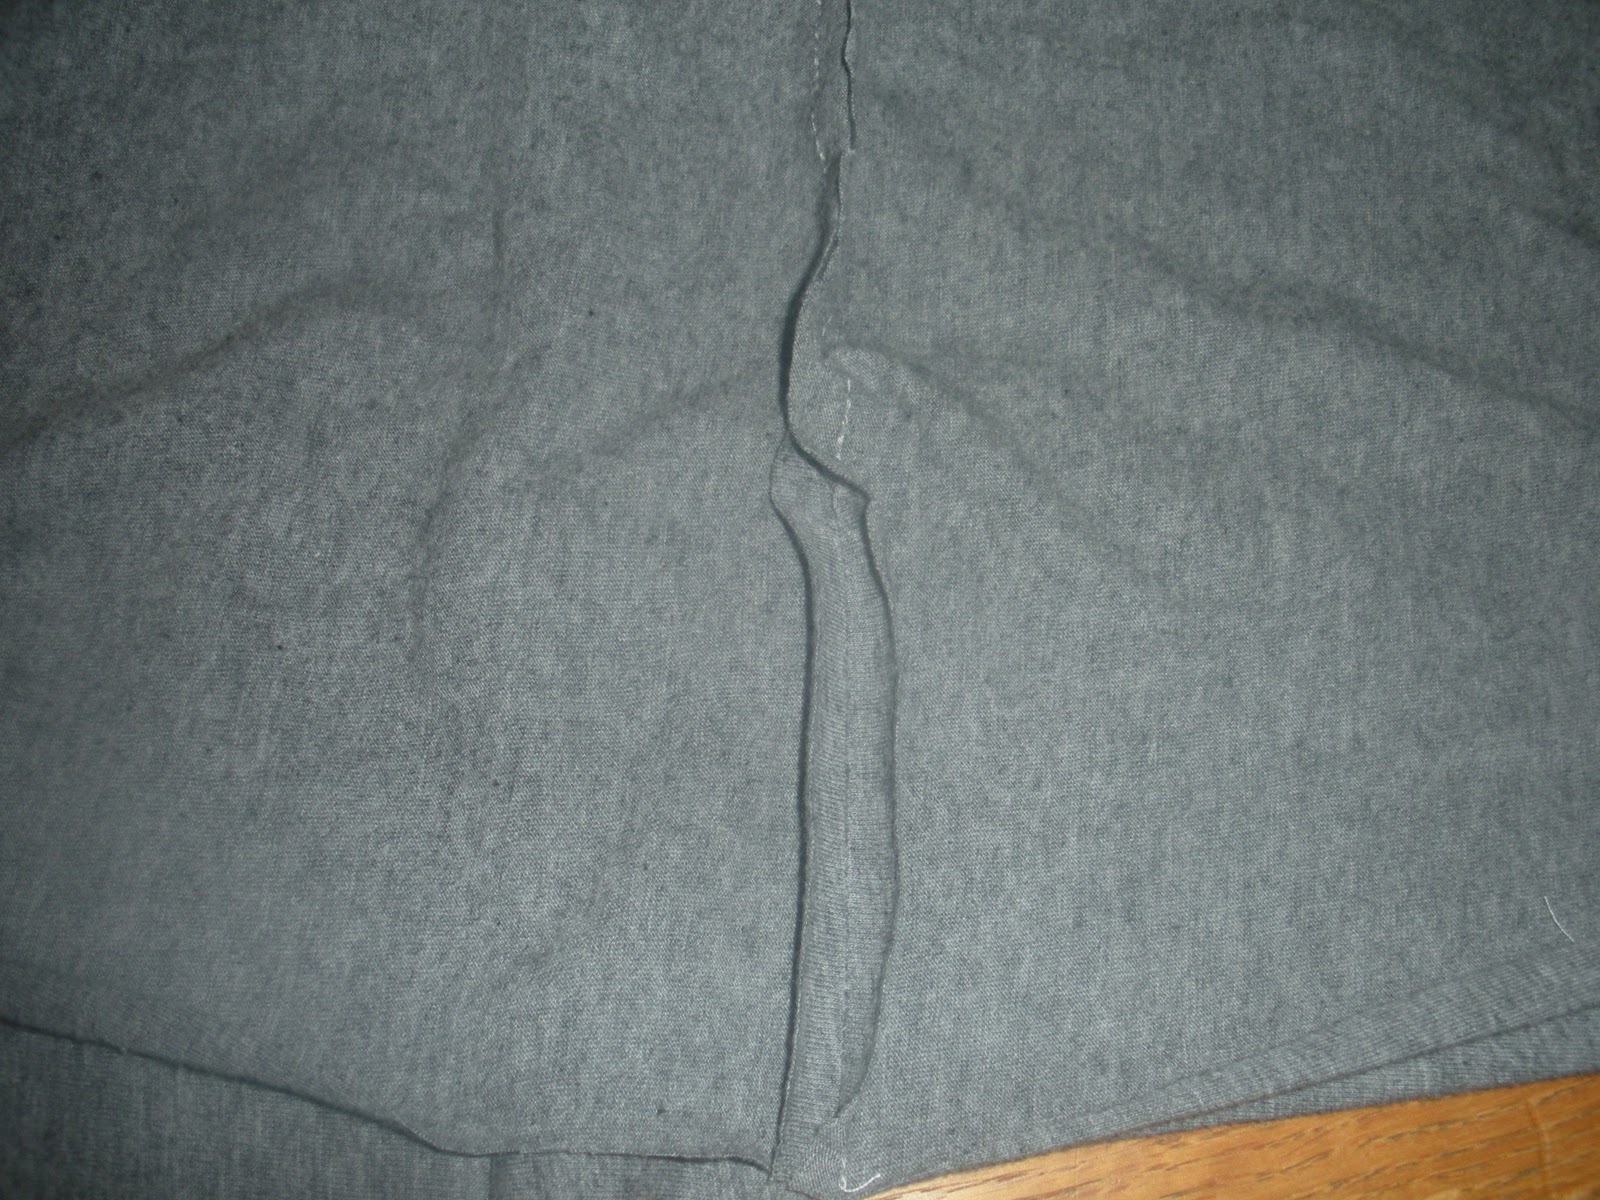
I did not have a piece of material wide enough, so I had two 13" pieces plus 1/2 for seam allowance. Sew both long side together good sides facing each other so you have a long tube. Unless you have a long enough piece of material to fit your waist. Then you would sew the 20" sides together.

 Then Iron the seams to make a good finished product in the end.

Sew one short side together still inside out. Then go to the other short end and put it through to make a tube still inside out to keep seams consistent. If you have one long piece skip this step.
The sew around the short end of the tube, but not all the way around so that you can turn it right side out. All you need now after turning it right side out is to finish sewing the rest by hand to close the rest of the seam.

Lie it flat and iron it out to make it look beautiful. Flip it around so that the seam is on the inside of the band and put it on.
Check how mine turned out. It looks like a normal undershirt and I can now wear my pants!